The most simplest recipe ever. Hardly takes 10-15 minutes to prepare. You require only 4 ingredients. I wanted the Kesari to be in yellow, I think my mom added orange color to it (hmph!). Let my pictures speak this time. You can read the captions below every pictures and zoom into them.
Preparation time:- 15 minutes
Ingredients:-
Powdered Rava- 1 cup – 4-8 servings
Sugar – 2 cups
Ghee – 3 tsp
Water- 1 cup
Heat the pan with Ghee
Add the rava, roast them well and keep them aside.
Roast the Rava with Ghee
Remove the roasted rava content and Boil 1 cup water in the same kadai. Add 2 pinches of the color of your choice.
Add the roasted rava content to the boiling water and keep stirring continuously.
2 cups of sugar
Add them to the Kadai content and mix well. Ensure no lumps are formed.
Keep mixing the well and ensure no lumps form.
Add Cardamom powder and mix well.
Kesari ready! You can roast some cashews, raisins with ghee and splatter them on top!
We had a half-cut cabbage stored in an airtight container for a very long time. We wanted to use the cabbage as early as possible. So, my mom and I ended up making some hot vadai’s with Chai/tea and kesari (I know, bad combination, but, why not?). This particular post I decided not to write much, but let the pictures speak for better understanding. You can read the captions below every picture.
Cooking time:- 25 minutes
Soaking/ pre-preparation time:- 4 hours.
Ingredients:-
3/4 channa dal
1/4 cup urad dal
1/4 cup tur dal
Water- 2 cups for soaking
Red chillies – 4
Half cut cabbage – For serving at least 4 people.
Coriander powder-2 tbsp
Salt to taste
Jeera – Optional
Cumin seeds – Optional
Curry leaves – Handful
Oil for frying
Soak for an hour all the Pulses/dal with the Red chillies
leave aside some for the Vadai
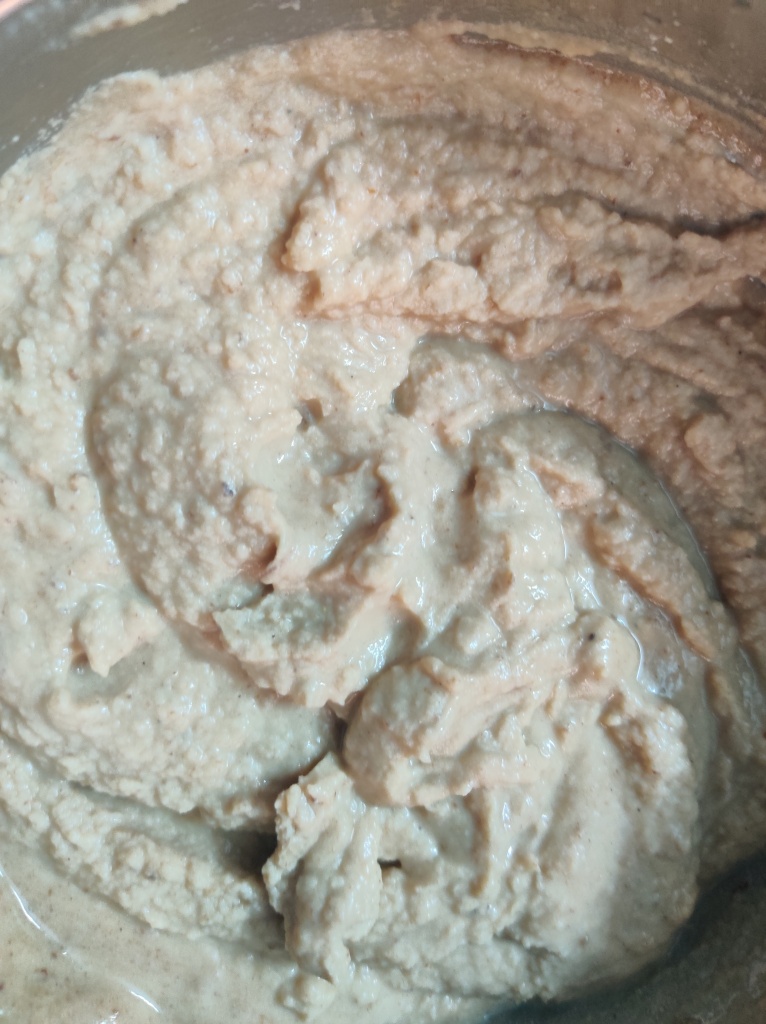
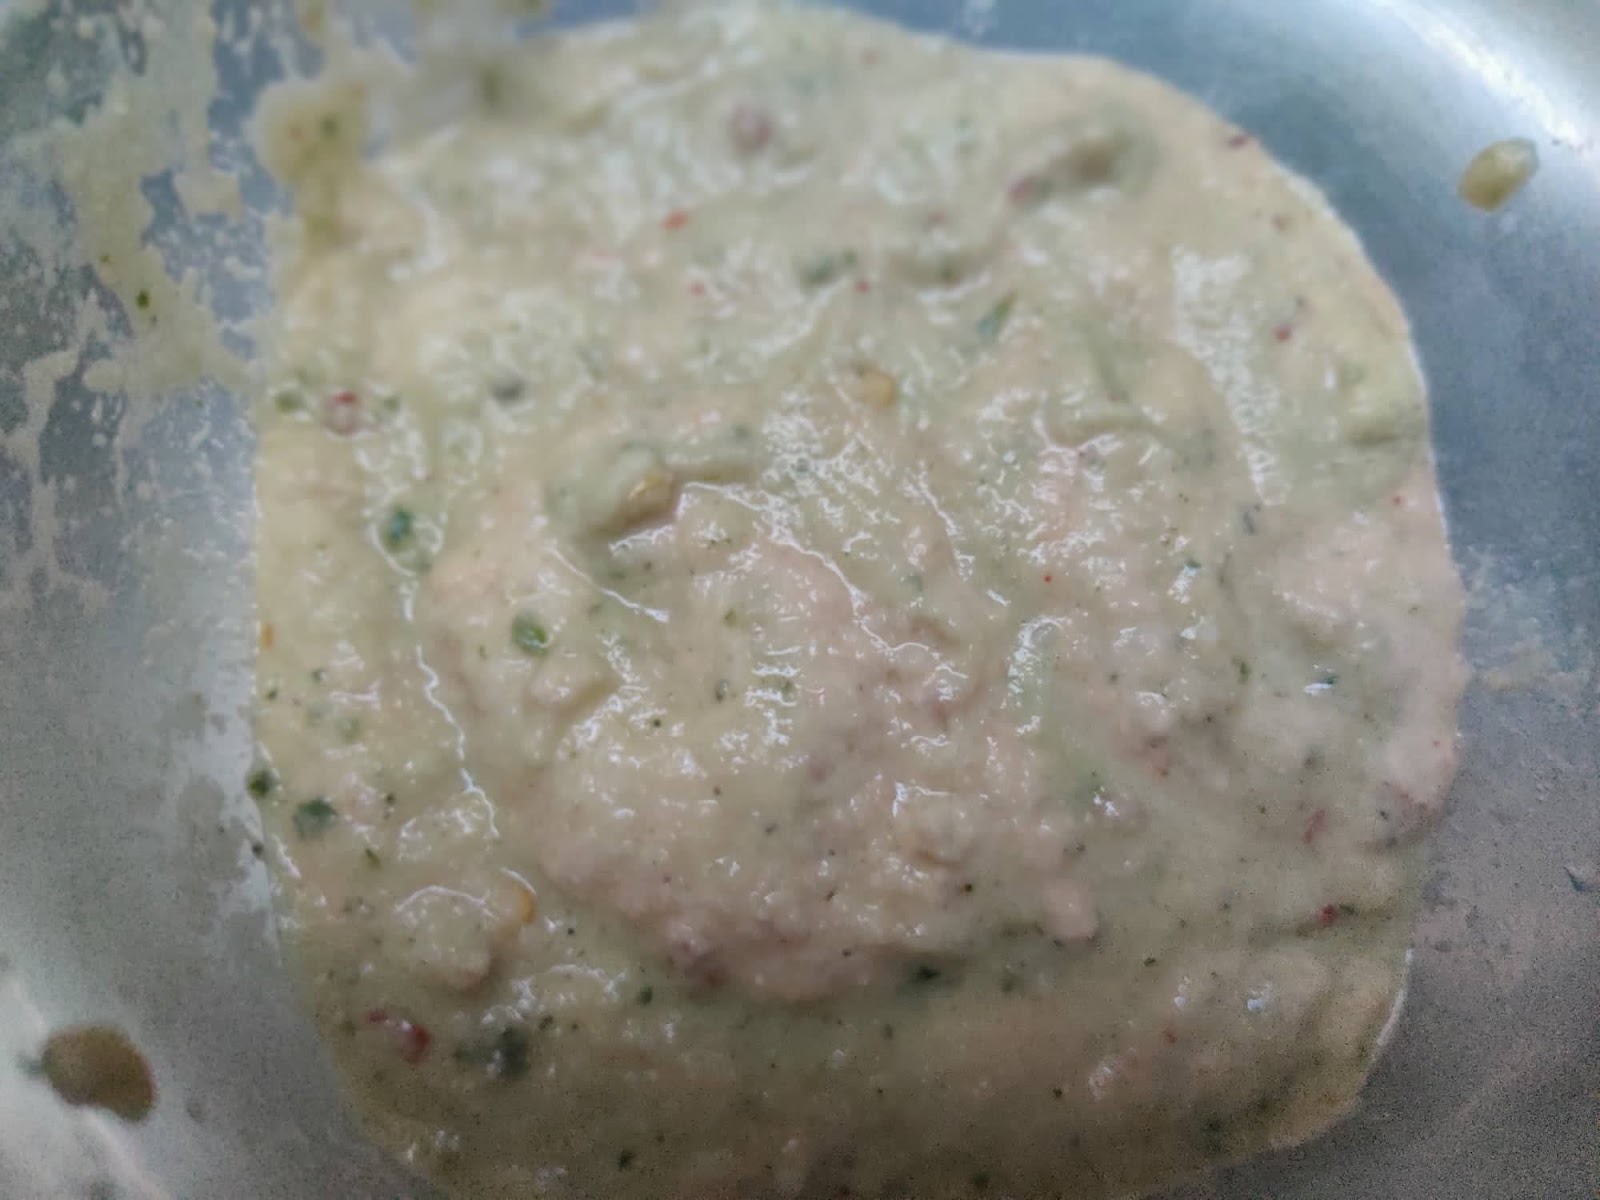
Grind the content in a processor/mixie
The ground paste of the pulses/dal
Mix the paste to the Pulses/Dal
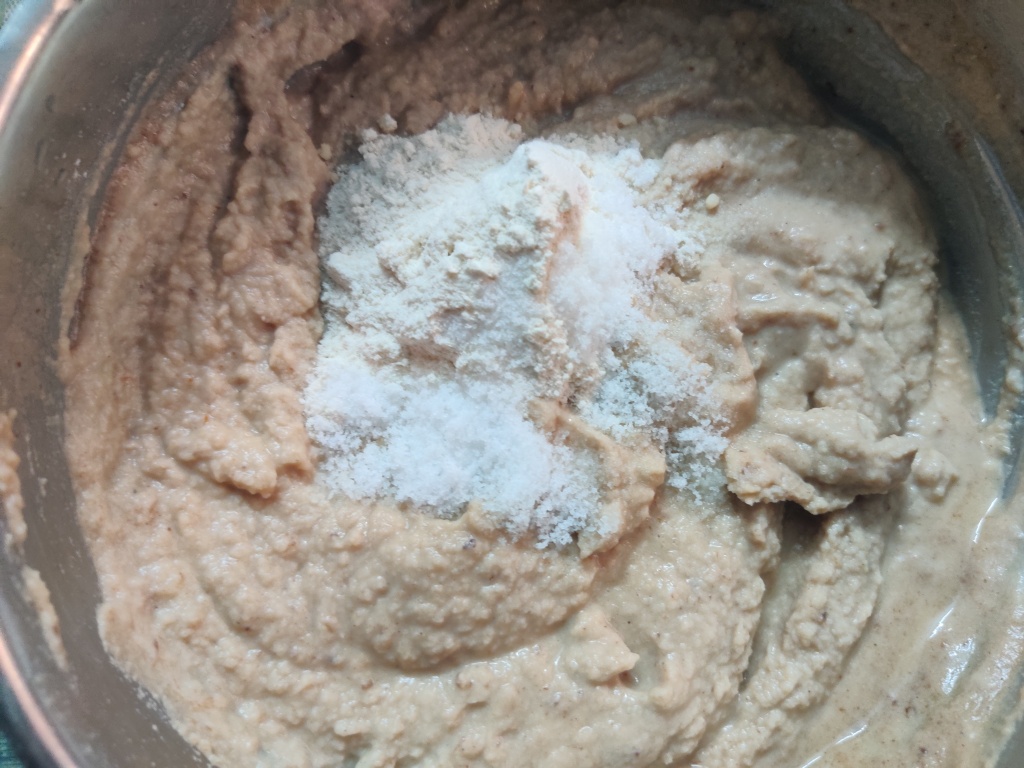
Add Coriander Powder, Asafoetida, Salt and Curry leaves
Mix all the contents to get this grainy onsistency of the content
Pre-heat the pan with oil for ten minutes.
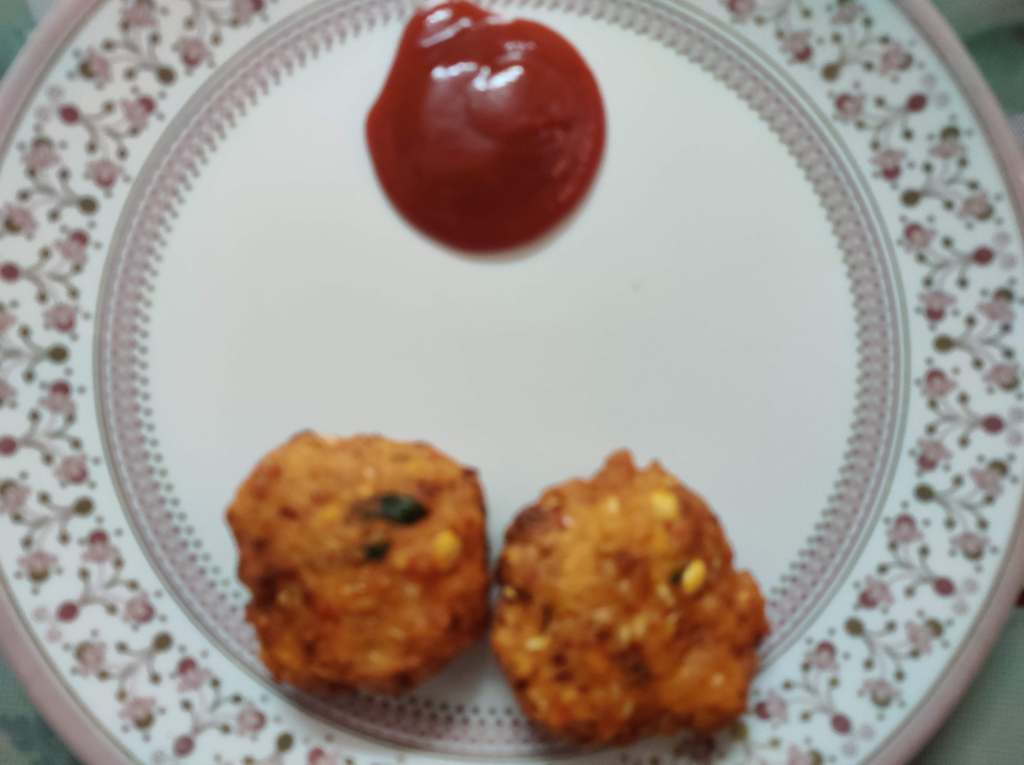
Flatten the content and put in the oil for frying. Let it fry well, till it turns golden brown.
Serve hot with sauce.
Just to make things a bit more interesting, here are few boomerangs.
Doodh Peda has always been my favorite sweet ever since my childhood in Vizag. There used to be a particular shop (forgot the name!) in Vizag, where my dad used to buy a box full of these cute peda’s with flower shaped in between, almost once in every two weeks. Those days have gone by. Today we are all isolated with so much space and time to think and refresh those memories. My mom and I, decided to try our luck with this Peda. The result turned to be really good, not so soft, because we didn’t use the full cream milk. So, to get better results, please use full cream milk or you can directly use the khoa. You don’t need much ingredients for this- just 3 ingredients sweet and a lot of time to prepare and settle.
Preparation time :- 45 minutes
Cooling/Settling time :- 2 hours
Ingredients:-
Pasteurized milk- 1.5 litres
Sugar-1/4 cup
Cardamom- powdered-1/4
With more love.
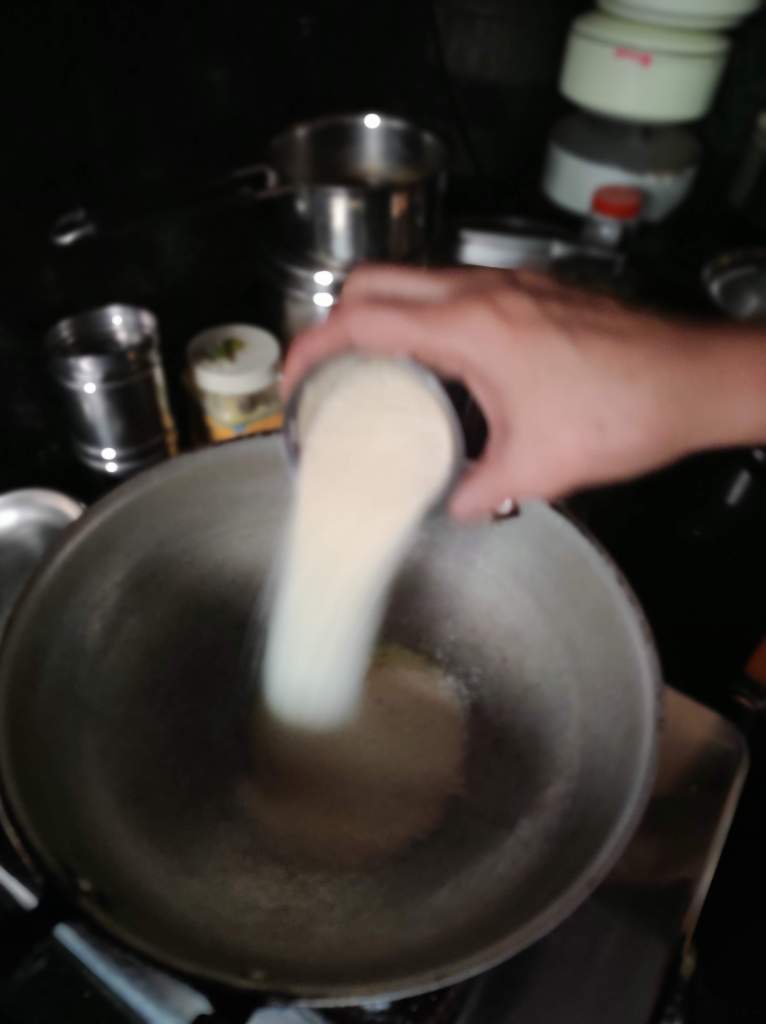
In a large kadai take 5 cups of milk. use good quality (full-cream) milk for a more creamy texture.
Stir occasionally to prevent milk from sticking to the bottom and burning.
Get the milk to a boil.
Stir continuously, till the milk thickens.
After sometime, the milk turns creamy texture.
Keep stirring on low flame, to prevent milk from burning, to turn to paste like consistency.
Add ¼ cup sugar. add more sugar if you prefer.
Keep stirring till the sugar dissolves.
Add 1/4 cardamom powder and keep stirring.
Continue to cook on low flame until the mixture separates from the pan and holds shape.
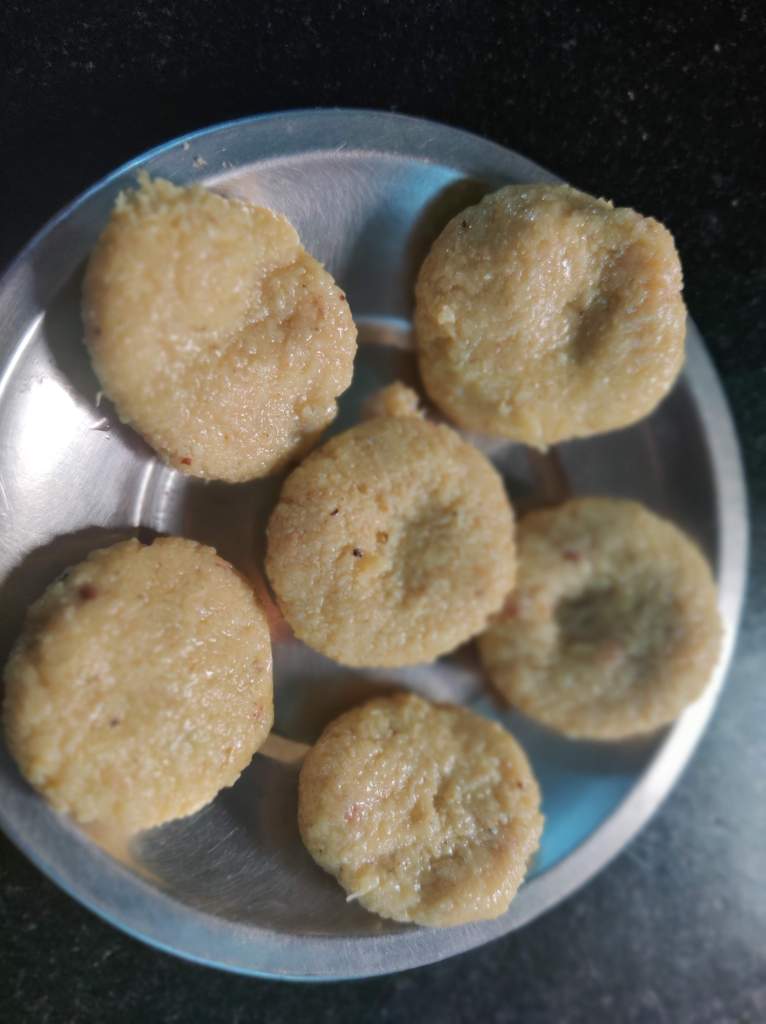
Cool the content for minimum 2 hours. Take a some and size to ball shape and design using the mould. You can also decorate using a toothpick or fork.
Store doodh peda or milk peda in an airtight container and it will last for about a week.
Boil the milk. Keep Stirring to bring dowwn to creamy and paste consistency.
Add 1/4th cups of sugar to the milk
Don’t stop stirring. Continue.
Keep on low flame and keep stirring. Make sure the bottom doesn’t get burnt.
Cool down after transfering it to a plate
Shape them and cool them for atleast 2 hours for better results.
Keep stirring.
Don’t stop, Keep stirring 🙂
Almost there !!
Just one last time. Keep stirring as you can see the milk has turned yellow. Add sugar and Keep stirring!!Oue version of Milk Peda 🙂
NOTE:-
Use Full fat /cream milk for better results.
You can also use khoa to reduce few steps and continue adding the sugar.
There is no shortcut method, only continuous stirring will give you best results.
You can use skim milk, but you may end up getting fewer milk solids with the same quantity of milk. You will have to double up the quantity of the milk.
Add any choice of flavours including the artificial flavours like vanilla, chocolate and even kesar.
Lastly, do not attempt to increase the flame and it has to be one low to medium flame. If you do so to evaporate at high flame, you may end up burning the content and the pan.
Pulli Maavu (Tamil) and Pulusu Pindi (Telugu) is an easy evening tiffin recipe that required minimal ingredients- the major one being the rice flour and tamarind. The Traditional method is very strenuous and requires a special kadai so that while cooking and stirring the content don’t get burnt. The easy-method recipe requires a lot of oil in the making , but I can assure you that the taste is not compromised.
Preparation Time:- 20 minutes
Ingredients:-
Tamarind (lemon sized) soaked and the extract to be used
Rice flour – 2 cups
Gram dal – 2 tsp
Dried red chillies dipped in buttermilk (Mor Molaga) – 5
Urad dal – 2 tsp
Mustard seeds – 1 tsp
Asafoetida Powder – 1 tsp
Oil – 5 tsp
Curry leaves –
Salt to taste
Lastly, some love.
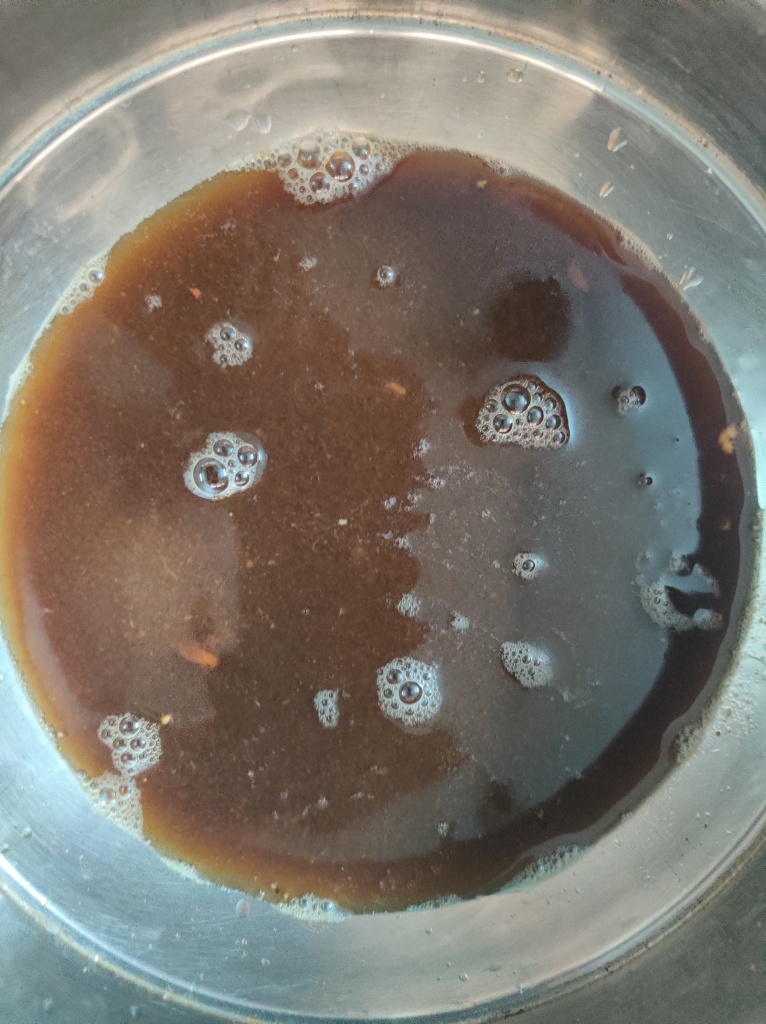
Soak the lemon sized tamarind in water. If you have paste, saves your time, mix the paste (50g) in water (1cup)
Extract the tamarind water. Ensure it is a thick consistency.
Add 1 cup of rice flour to the tamarind water.
Add some salt to the above content and leave it aside.
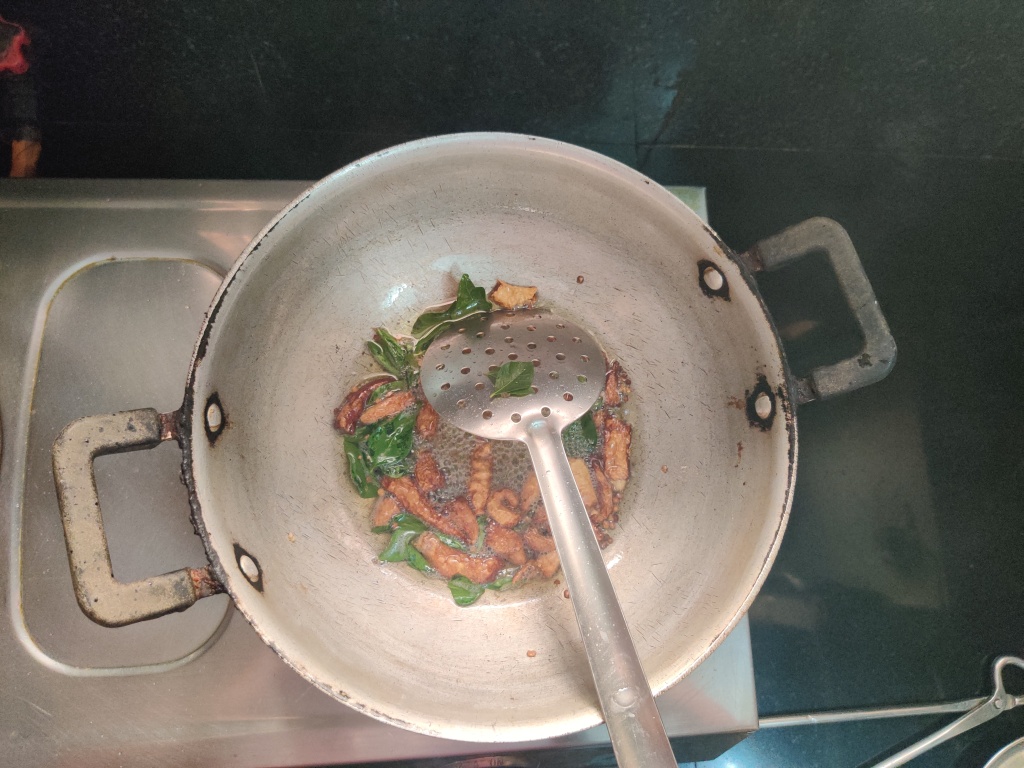
Meanwhile, in a kadai, add 3 tsp of oil, mustard seeds, all the dal’s mentioned above, chillies dipped in buttermilk (Mor Molaga), curry leaves and some asafoetida.
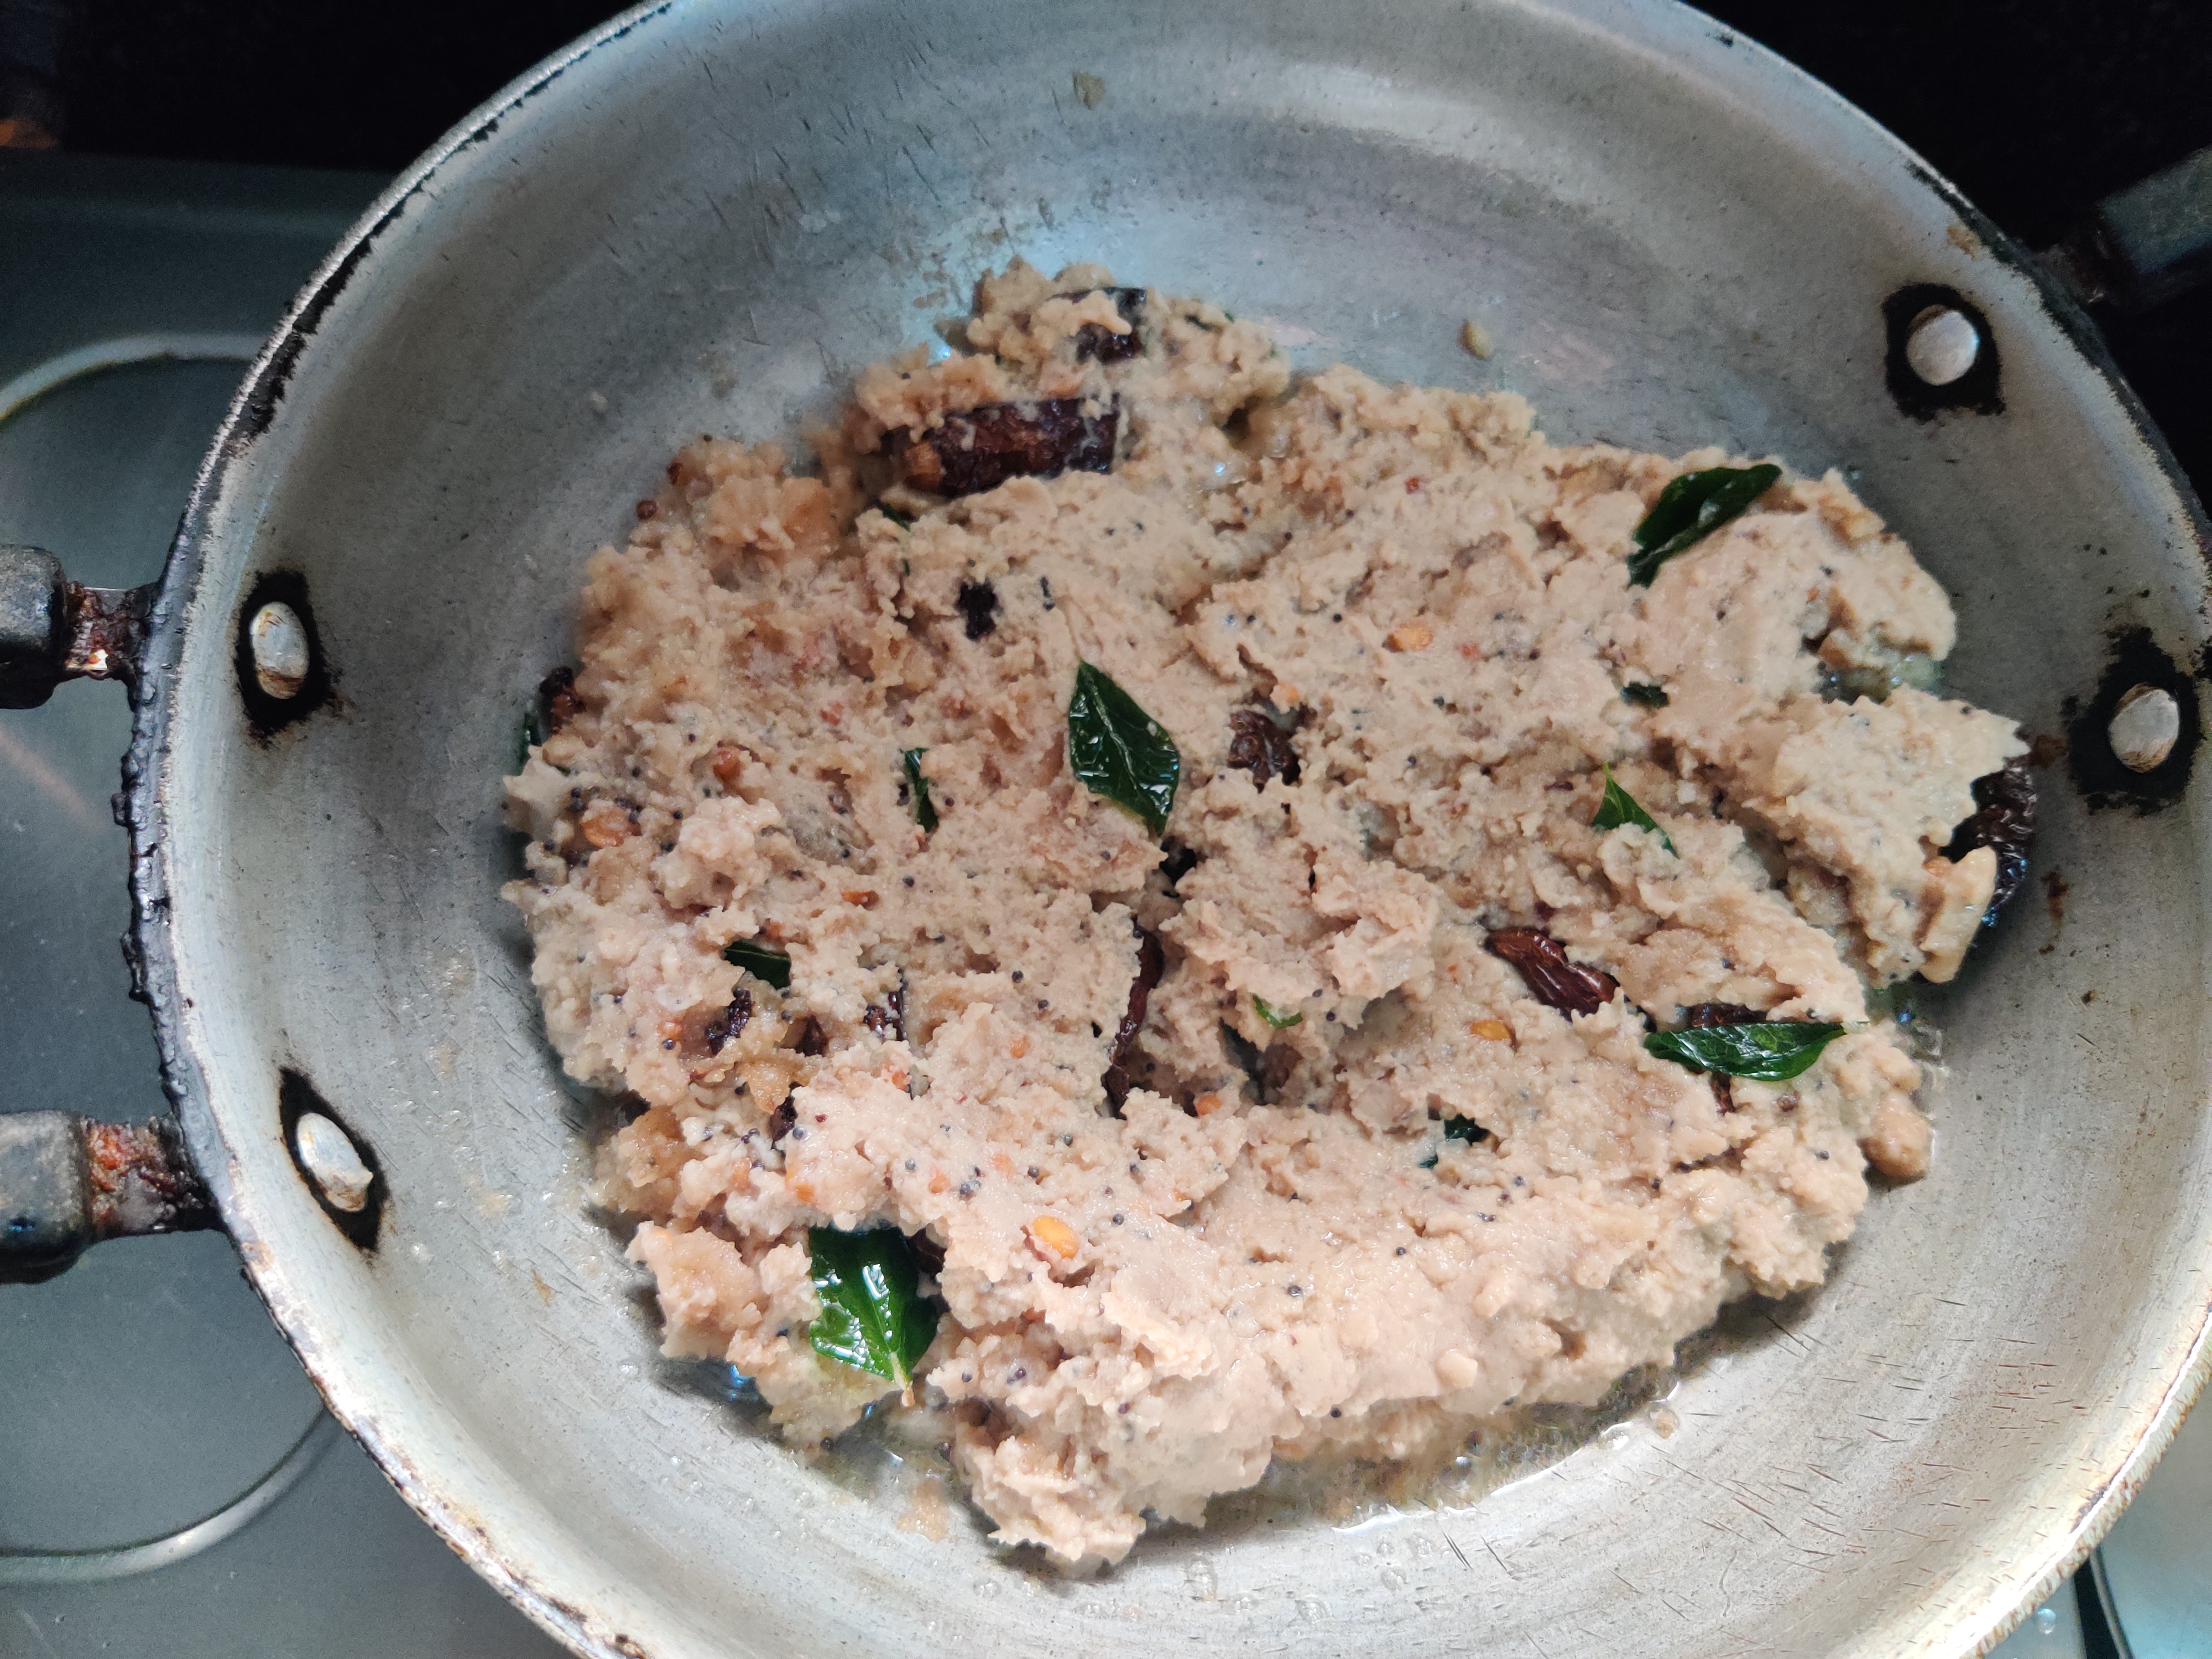
Add the Rice flour+ Tamarind content to the kadai and keep stirring well. Keep stirring for 10-15 minutes till the whole content turns brown. Keep adding some oil in between for good results. (Very good exercise for your hands and biceps!)
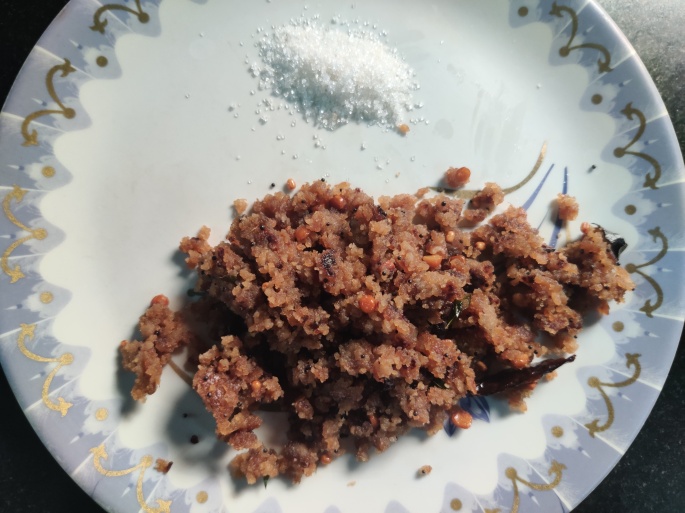
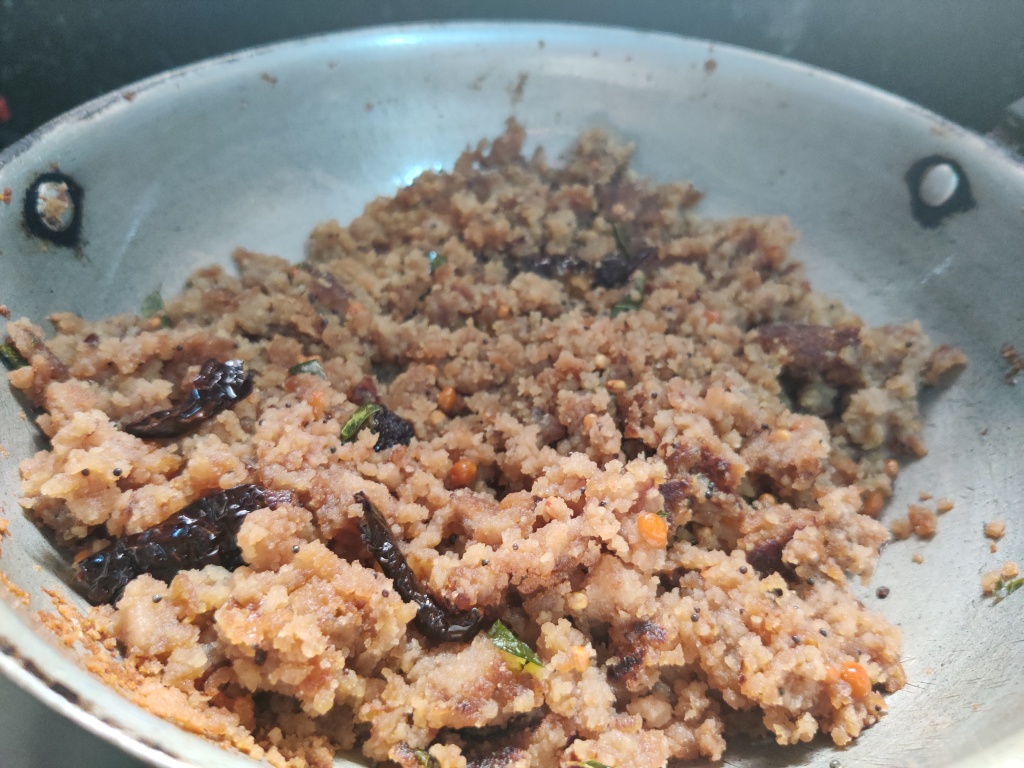
You will notice that the content has started to wither and roasted. Remove the content and let it cool.
Serve with curd or sugar.
Tamarind water
Mix with 2 cups rice flour
Add salt
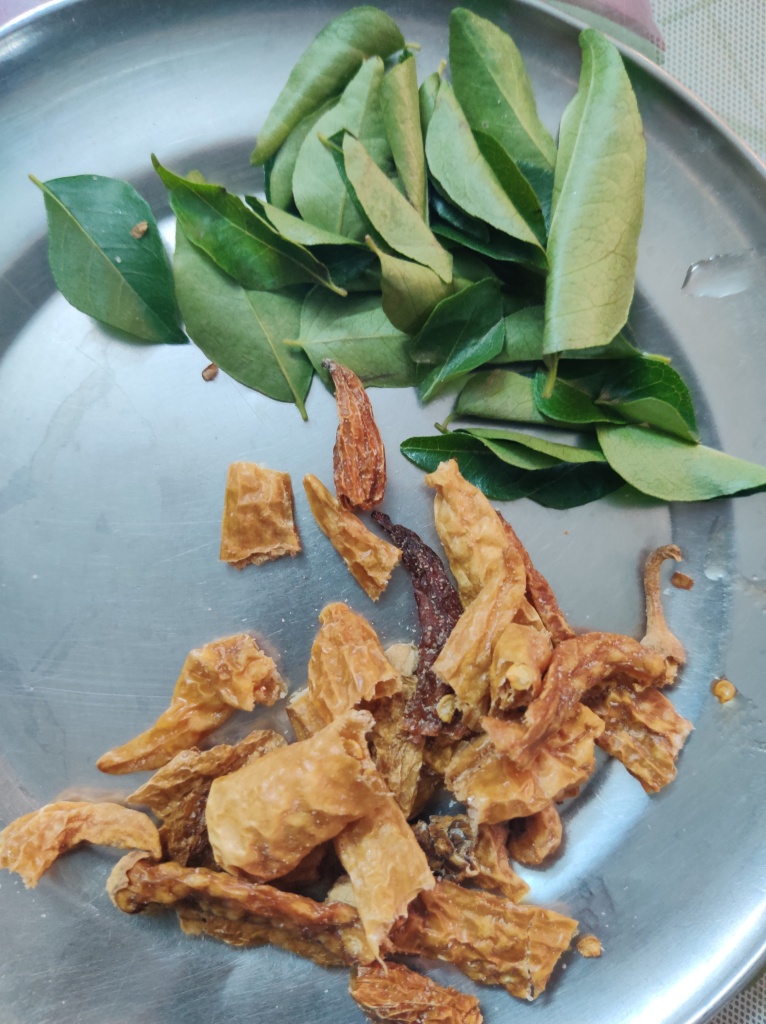
Curry leaves and Chillies soaked in Buttermilk (Mor Molaga)
In a kadai, add oil , dal, chillies, curry leaves and asafoetida
Just a Boomerang video of stirring.
Add some oil to roast
The content turns brown after constant stirring.
Here is the final picture of the Pulusu Pindi and Pulli Maavu. 🙂
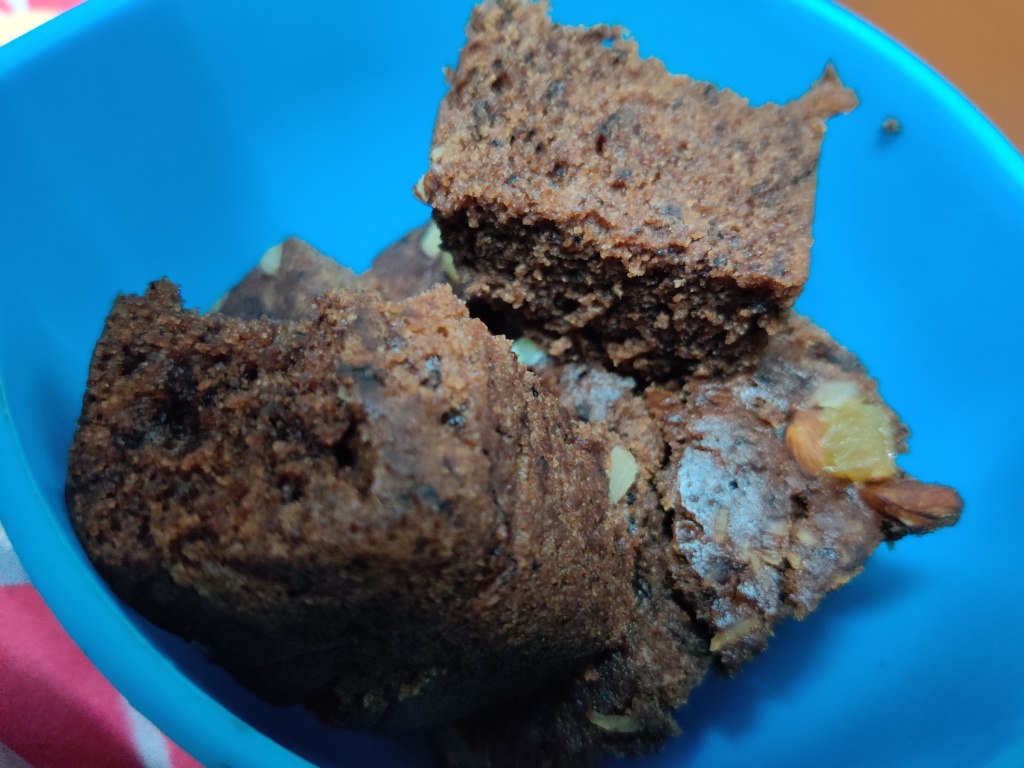
The week seems so long (thanks to the self-isolation period) that I have been learning and trying a lot of new recipes. Of course, I can’t buy or hoard any exotic vegetables/ingredients during this time, so the cake is prepared with very minimal ingredients and easily baked in a Kadai. Super convenient and easier.
Preparation time: 60 minutes
Ingredients required:-
Ripe Bananas – 2
1 cup of sugar
1/4th cup oil
1/2 tsp cinnamon powder
1/4th tsp salt
1/2 cup milk
1/2 cup all purpose flour/ wheat flour
1 tsp baking powder
1/2 tsp baking soda
Chocolate chips- (used Hersheys) – Optional
Walnuts- chopped
Cashews- chopped
Dry raisins – chopped
Almond strands
Olive oil – for greasing
Begin with chopping the ripe bananas
Add them to a blender. In the blender, add 1/2 cup milk, 1 cup sugar, 1/4th cup oil, 1/2 tsp cinnamon powder, 1/4th tsp salt. Blend well.
After Blending, in a bowl, sieve and add the all purpose flour/ wheat flour to the above mixture.
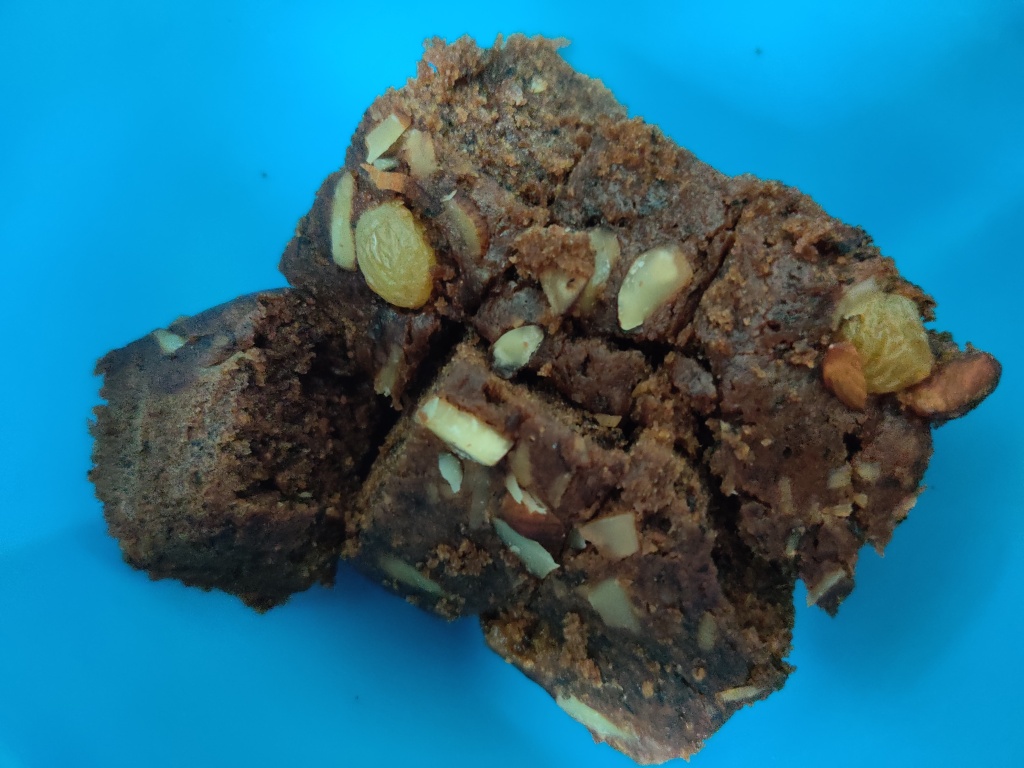
Add 1 tsp Baking powder, 1/2 tsp baking soda, chocolate chips and the nuts mentioned (according to your choice). Mix the content well.
Grease the Kadai with olive oil and pre-heat in medium flame.
Pour the batter in the Kadai.
Allow it cook under medium flame and close the Kadai in a Glass lid.
Cook for 50 minutes.
Check if the content is thoroughly cooked by placing a tooth pick in the middle of the cake or a knife, if it is sticky then let it cook for some more time.
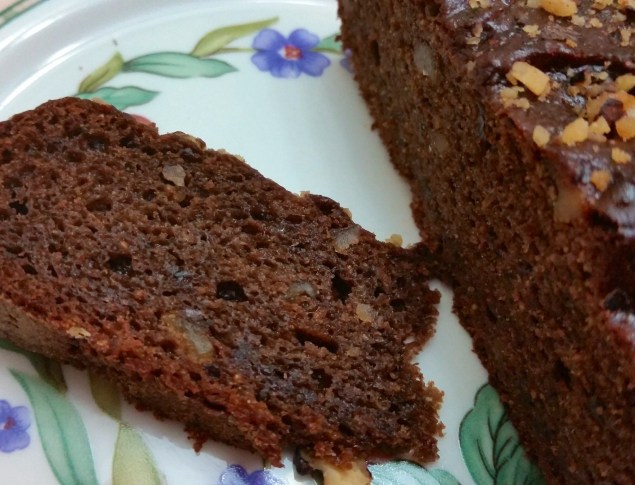
If it is cooked, allow it cool. Cut corners and place a chop board on top and invert the kadai.
Serve the cake during tea time. It can also be had with Vanilla ice cream or some whipped cream or maybe chocolate cream.
During my school days, I was called “pav-bhajji”, why, because my name started with “pav”. Fast forward to date, I’m still called by that name, as according to my family members I’ve become an expert because I made this dish twice (just twice, I know!) and they felt it was delicious! I blame it on my genes. My mom and my grandmother(paternal) are both great cooks. Let me not brag more that you’d stop reading this post!
Preparation Time:- 30 minutes
Ingredients required:-
Serving size – 4
Vegetables
Potatoes – 3 medium size
Onions – 2 medium size
Tomatoes – 3 medium size
Carrot – 1 small size
Peas – 100g
Beans – 6 and diced
Garlic – 3 pods
Coriander leaves
Green chilies- 3
Ginger- half- very little (as it ruins the taste- can be optional)
Spice Powders
Coriander Powder – 1 spoon
Turmeric Powder – 1 spoon
Salt – 1 spoon
Sugar – 1 spoon (Optional)
Garam Masala – 1 spoon
Pav Bhajji Masala – 3 spoons
Chili Powder – 1.5 spoon
Asafoetida
Seeds
Mustard seeds
Coriander seeds
Fenugreek seeds
Jeera
Oil- 4 spoons
Butter- 1 small cube/spoon
Pav Buns- Considering a person consuming at least 3 buns, so 4*3 =12 buns.
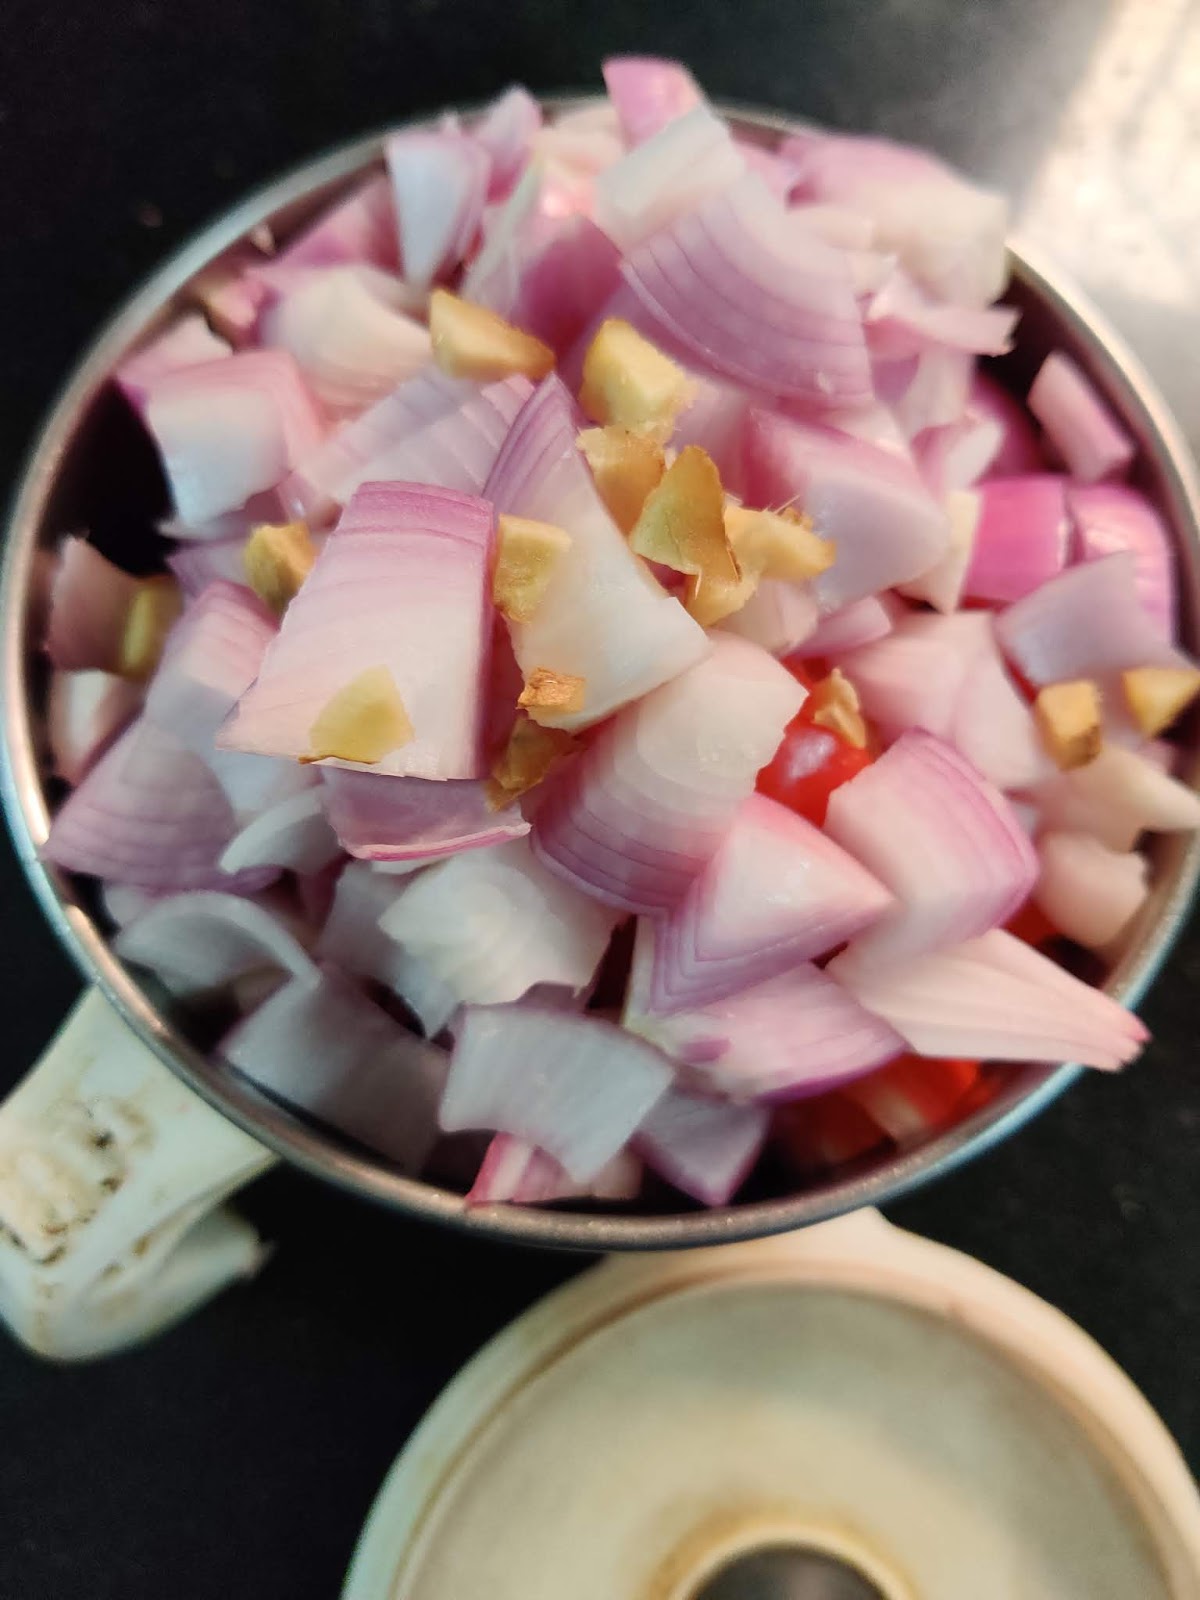
1. In a mixie, add finely chopped onions, garlic, tomatoes, green chilies and grind them to a fine semi-liquid consistency.
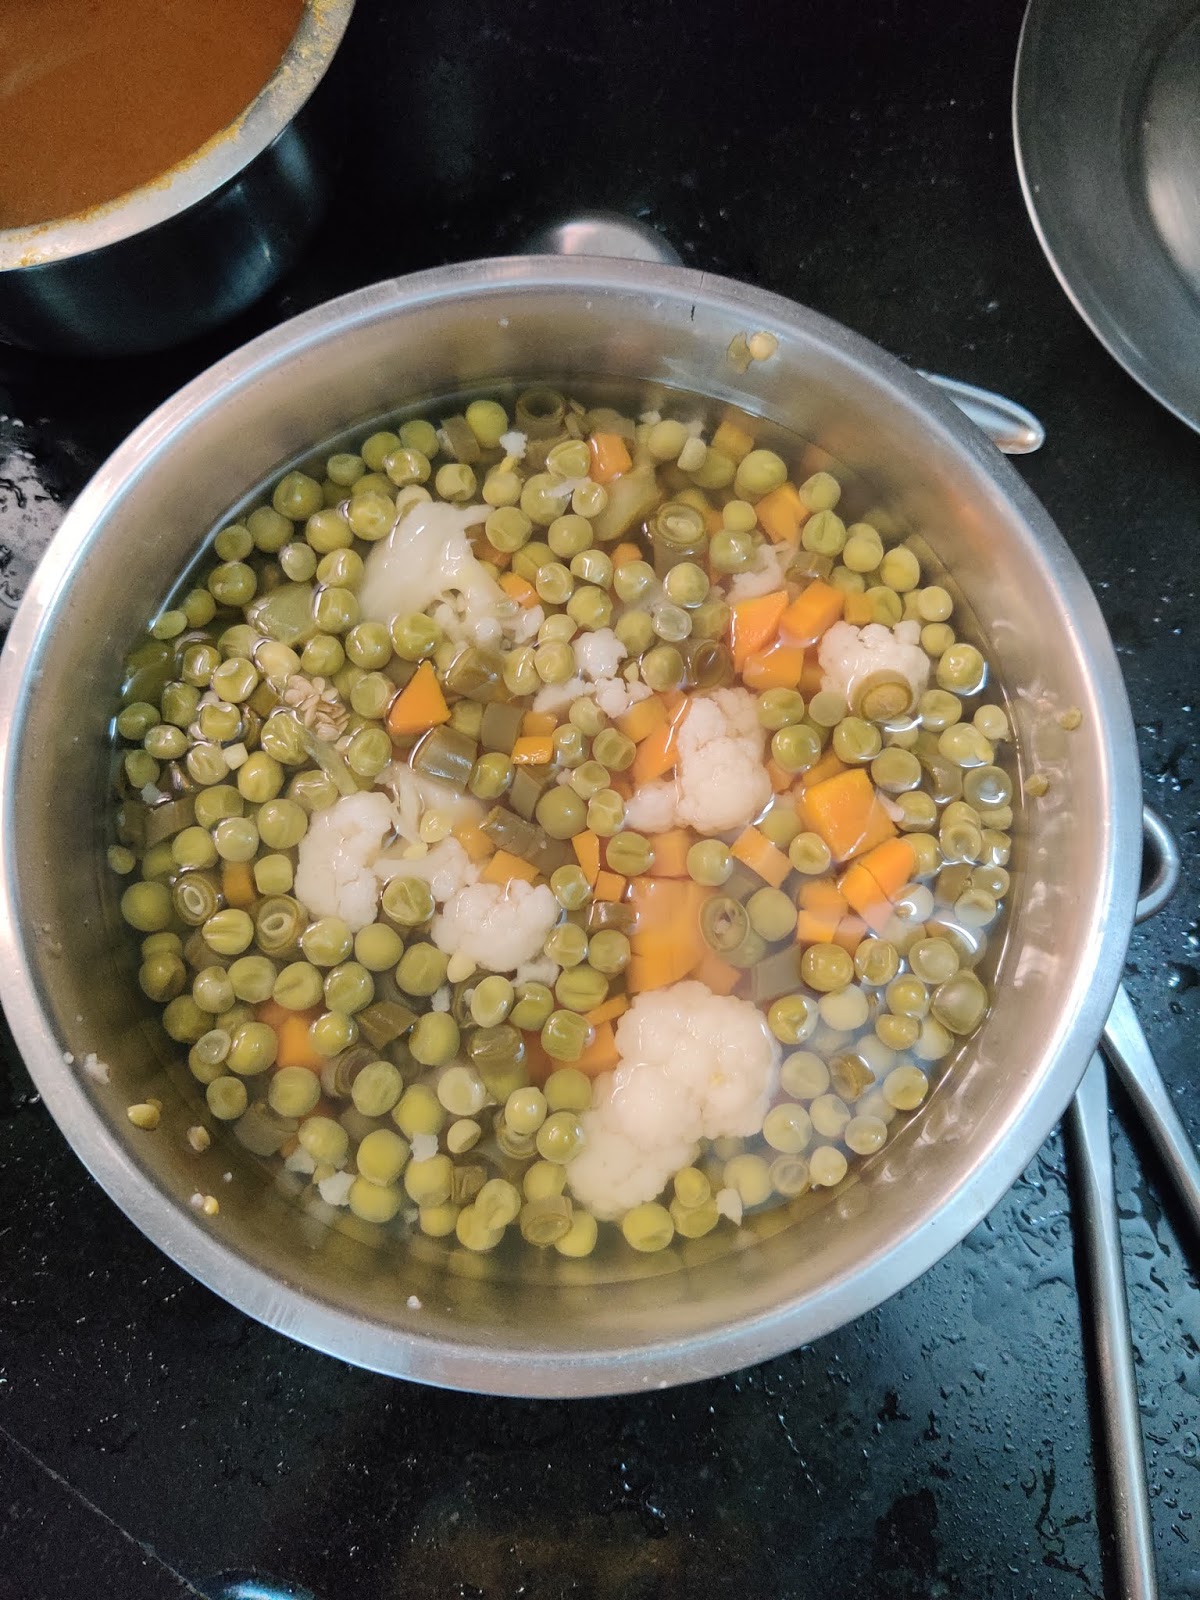
2. Meanwhile, boil the potatoes, diced carrots, beans, and peas.
3. After boiling, mash all the vegetables well- to a fine paste-like consistency.
4. In a heated pan/kadai, add some butter and the seeds mentioned above.
5. Add the ground tomato-onion paste to the kadai and heat till the oil comes out.
6. Once the above step is done, add the mashed vegetables to the kadai and keep stirring and mix well.
7. Add all the spice powders mentioned above and let it cook thoroughly at high flame.
8. Switch at medium flame and keep mixing the contents well.
9. Add some more butter on top and garnish with finely chopped coriander leaves.
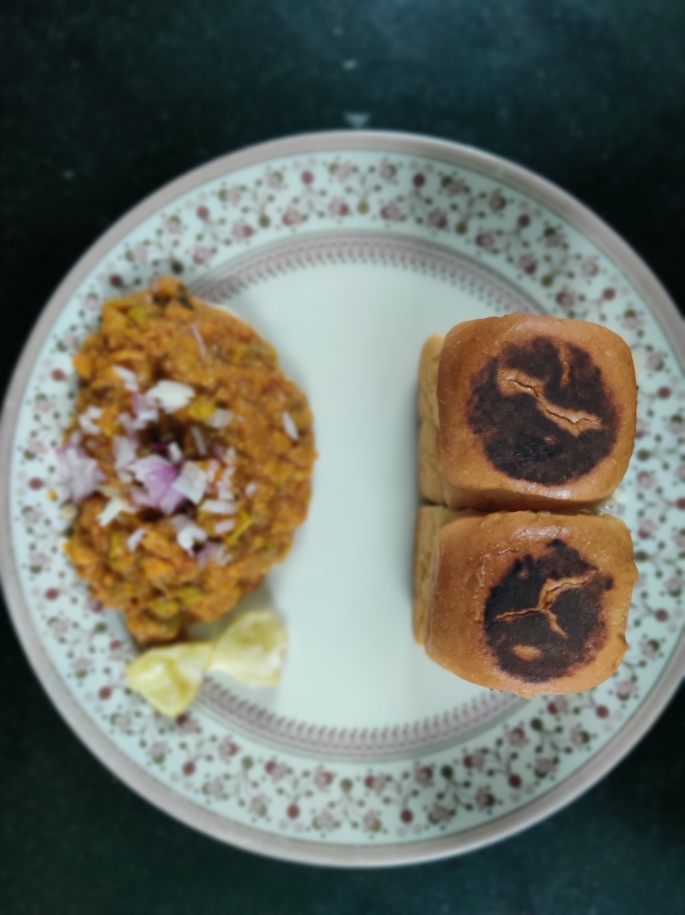
10. In a flat pan, toast the Pav buns with butter or ghee and serve hot with chopped onions and cut lemons as accompaniment.
The pictures below will depict each and every step explained above.
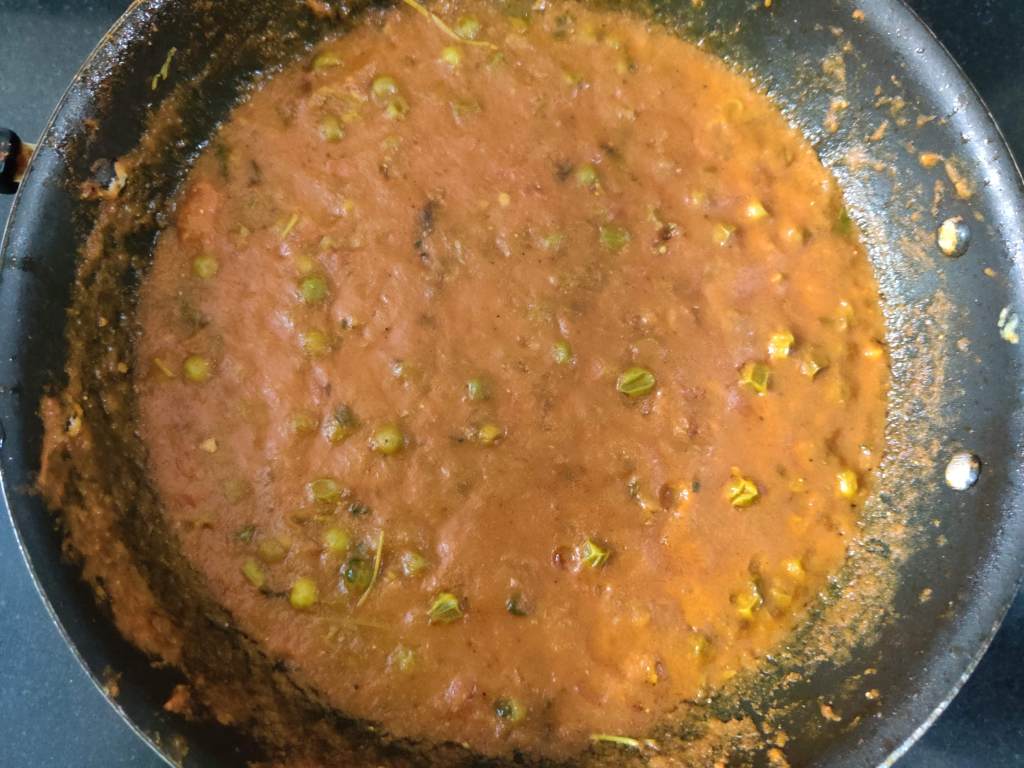
This is the most simple recipe. My mom was instructing me, and I prepared this dish for our dinner last night. The base is the same, Tomato-Onion, with other standard spices. You can either have this as a side dish or heat well till it thickens to mix with rice.
Preparation Time:- 25 minutes
Ingredients required:-
Peas – 1 cup
Tomatoes- 3
Onions- 2
Garlic – 2 pods
Salt to taste
Turmeric – A pinch
Chilli Powder – 1 spoon
Coriander Powder – 1 spoon
Garam Masala – 1 spoon
Cumin Powder – 1/2 spoon
Coriander seeds
Mustard seeds
Jeera
Oil – 2 tsp
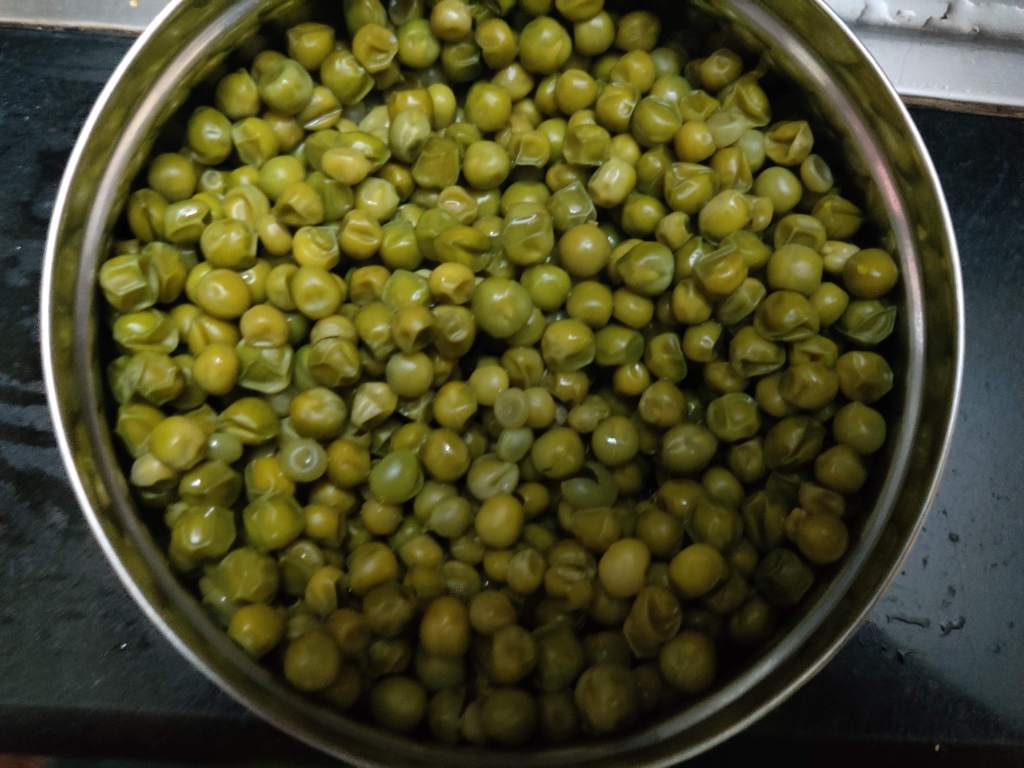
Boil the peas for 15 minutes
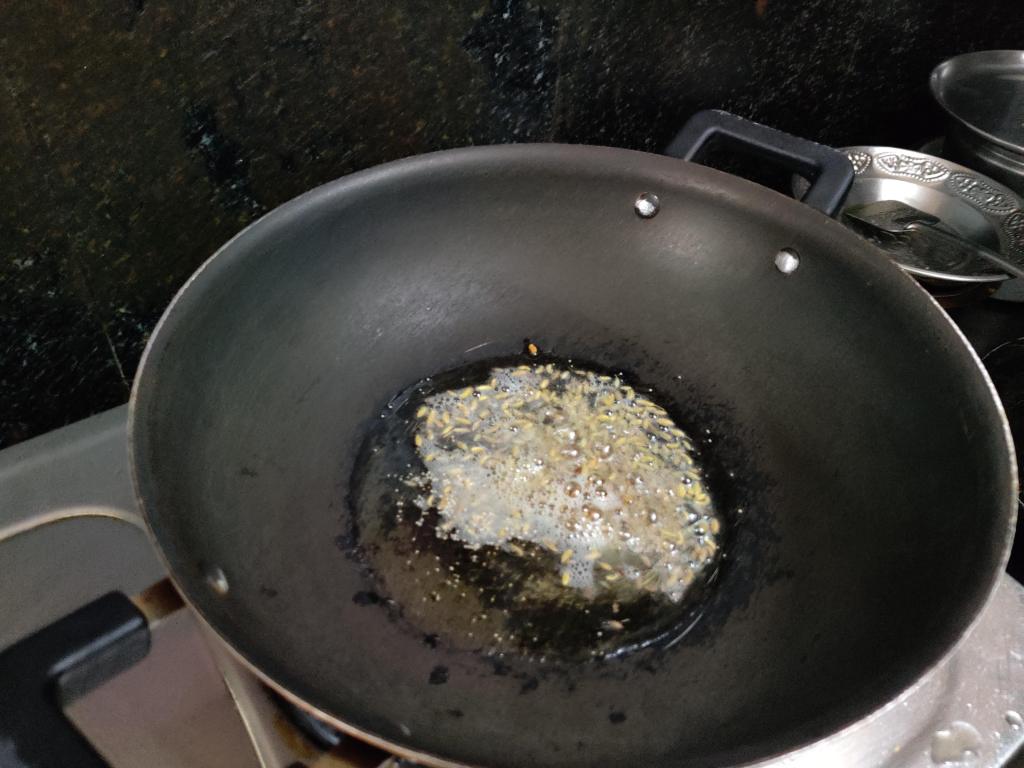
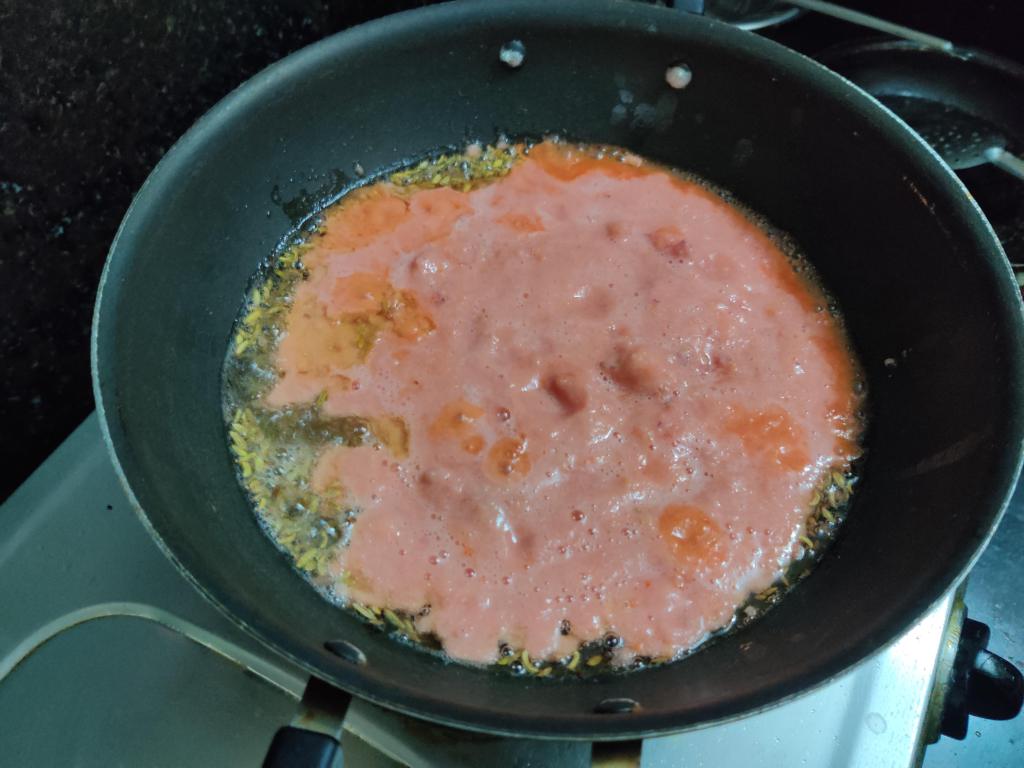
Meanwhile, in a pan, add some oil, mustard seeds, coriander seeds, Jeera. – Set 1
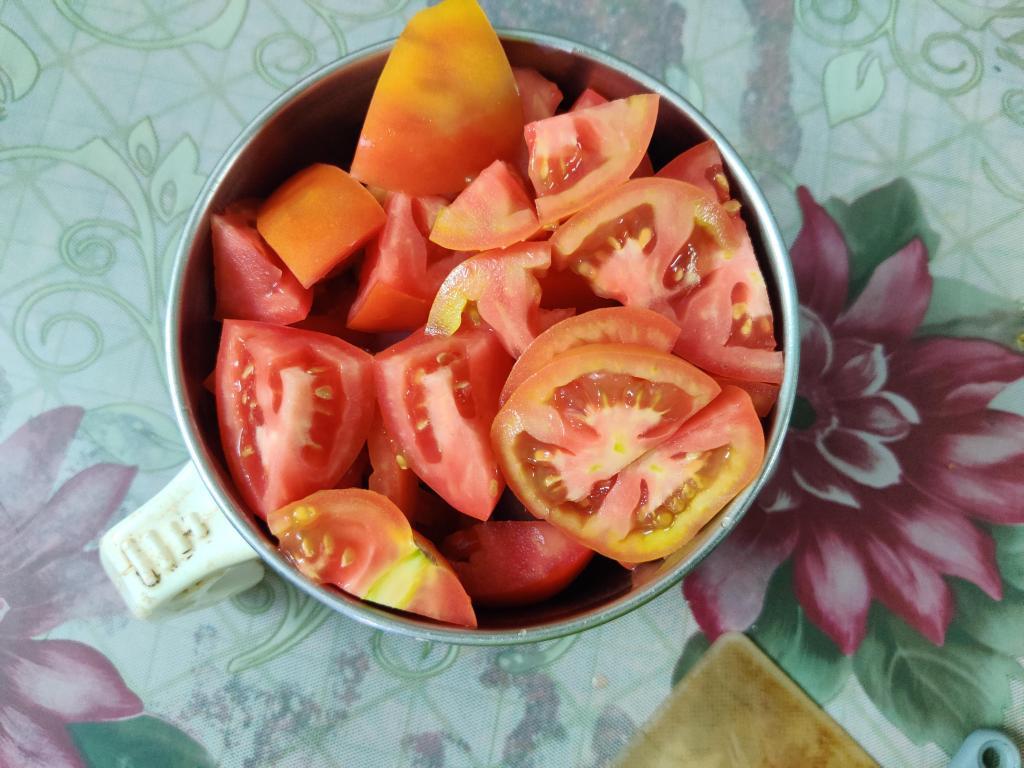
For Set 2- In a mixie- processor, add the tomatoes, onions, and Garlic. Grind them to a semi-liquid consistency.
Add Set 1 +2 on the frying pan along.
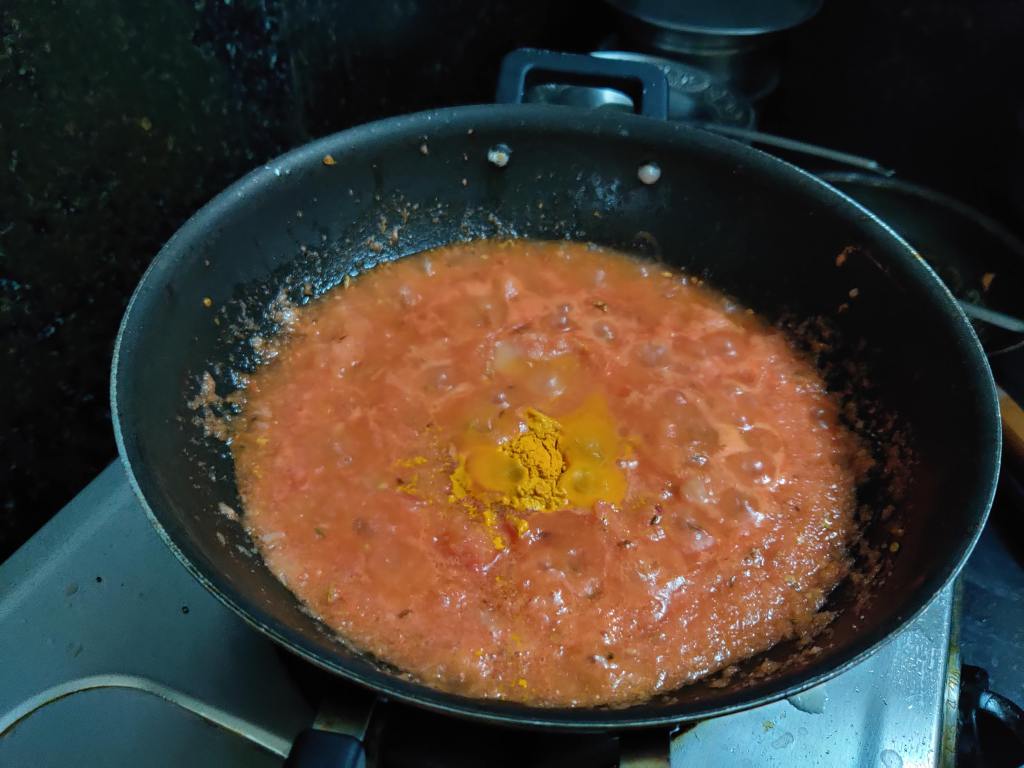
Let it cook until the oil from the content comes out.
Now add the boiled peas.
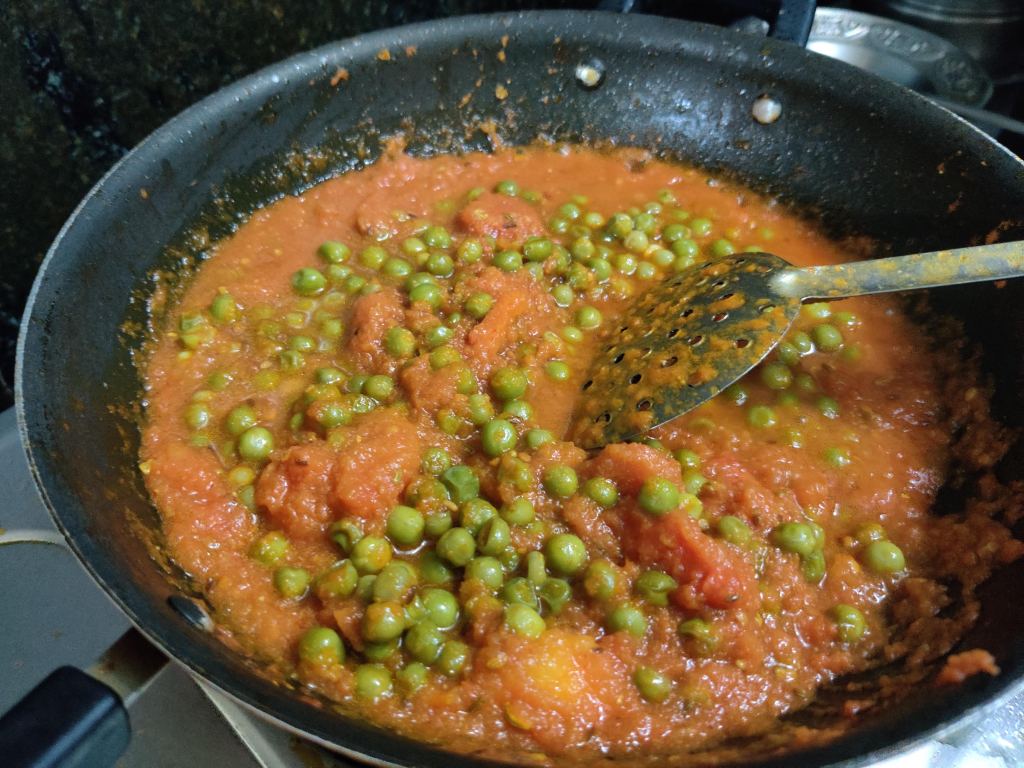
Add some salt, turmeric, coriander, chili, and Garama masala. Mix them all well.
Allow it to boil.
Add some butter/cream to enhance the taste.
Serve as an accompaniment for chappatis or rice.
Grind the Tomato, Onion, Garlic as a semi-liquid consistency paste
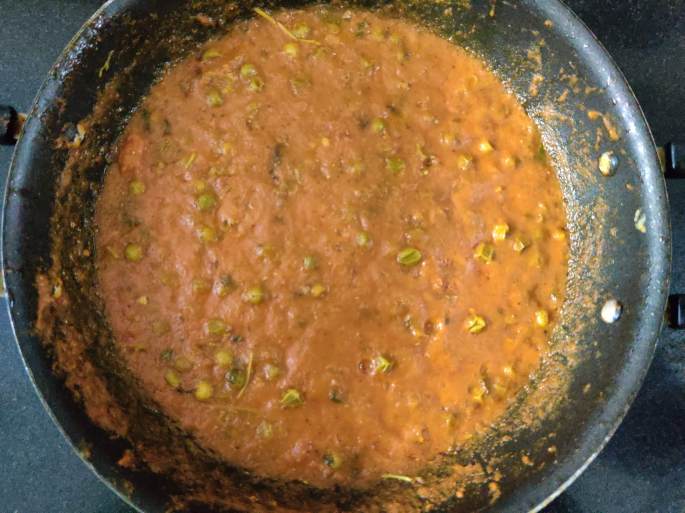
Heat the pan with oil and add the seeds mentionedAdd the Tomato-Onion Paste to the pan containing oil and let it boilBoil the peasTo the pan content add the spice powders- Coriander powder, chili powder, turmeric powder, salt and Garam masalaAdd the boiled peas content to the pan and mix wellAllow it to boil. Now the peas masala is ready to be served.
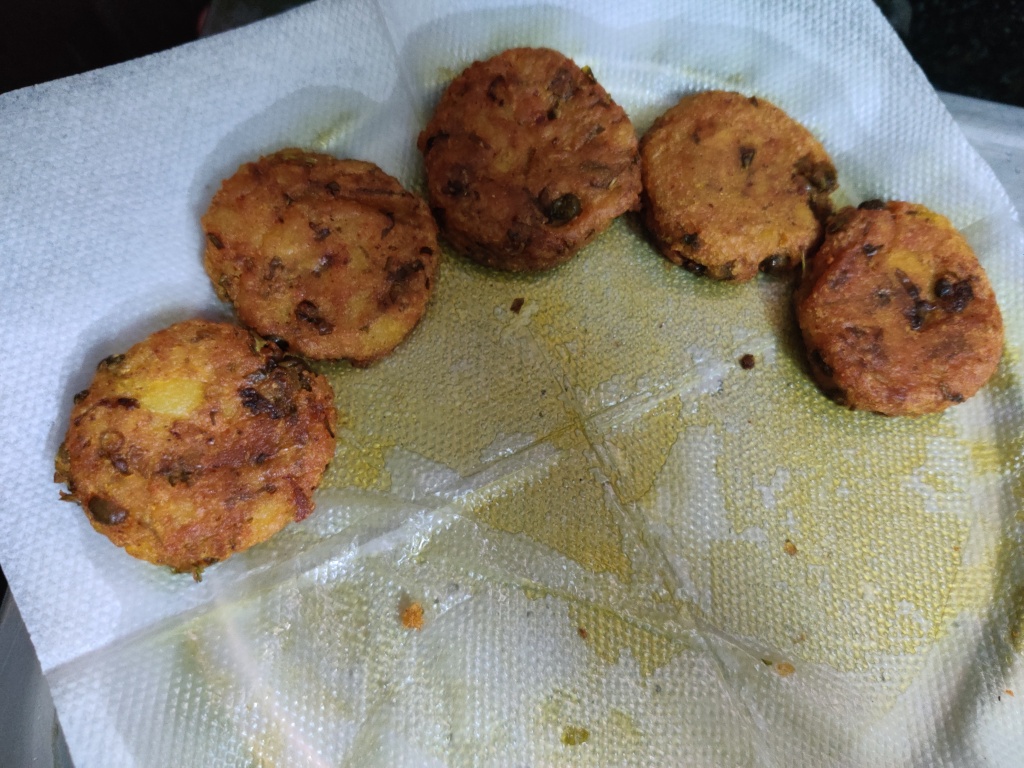
Aloo Tikki, also known as Hash Potatoes in English, is a 4 PM snack made from boiled potatoes and fried deep. The shelf life, when stored in the chiller, is not more than 24 hours. To be consumed after it is heated thoroughly after taking it out from the chiller. Aloo Tikki’s crispy when eaten hot. Other ingredients like peas, corn, cabbage can also be added along.
When I had been to Ambala and Delhi, my only staple dish over there was Aloo Tikki. I never got tired of eating every time I saw someone selling them. All because I assumed that I may never get to eat the similar in Chennai. But I’m wrong. Two days back, my mom had prepared this for the evening snack, and I feel it’s okay to brag that this is one of the best that I have ever had. How do I miss sharing this recipe in my blog? So, here it goes.
Preparation time:-45 minutes
Ingredients required:-
Potatoes – 4 big sized
Peas- 10g
Salt to taste
Chilli Powder 2g
Chaat Powder/Masala 3g
Garlic 2 pods (Optional)
Coriander powder 2g
Corn Flour 10g
Mint 2 strands
Oil – If for frying then atleast 25 ml , if not just 1-2tsp
Boil the Potatoes.
Add the ingredients mentioned above to the boiled potatoes and mash them well. If you’re using peas, ensure that they are boiled well before you add them.
Ensure that the water doesn’t ooze out and keep mix-mashing them all well.
Make small balls of these mashed ingredients.
Meanwhile, heat a flat pan with some oil.
Once the pan is thoroughly heated, flatten the balls to whichever shape you would like and keep tossing them till they are completely roasted. Indication:- Golden brown color. (Comparatively a healthier option)
If okay with deep frying, instead of a flat pan, in a frying pan, add some oil and let them heat well.
Flatten these balls and put them in the frying pan, allow it to fry well, and turn into golden brown- crispier.
Serve with mint or coriander chutney. It is also best accompanied with hot and spicy Tomato sauce.
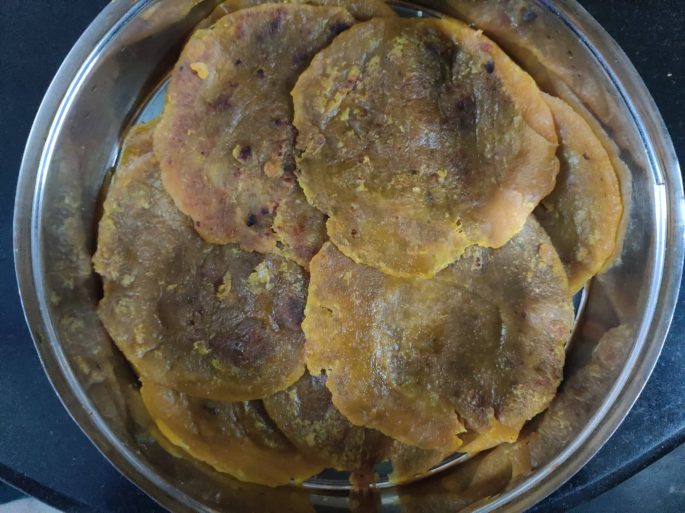
Boli looks similar to the Chappati’s/ Roti’s that we usually have. Boli prepared with channa dal/ split chickpeas and Jaggery.
Preparation time:- 25 minutes
Ingredients Required:-
1. Chickpeas/Chanadal- 1 cup
2. Shredded Coconut- 3/4th cup
3. Jaggery- 1 cup
4. Maida- 1 cup
5. Turmeric- 1 spoon
6. More love
For the filling
-Soak the chickpeas overnight. Filter the chickpeas and roast them well with shredded coconut, till they turn golden brown.
– Grind in a processor.
– In a Kadai, add some ghee. Mix the powdered chickpeas and make it to a paste consistency. Let it cool.
For Boli
– Meanwhile, in a vessel add 1 cup maida and turmeric. Keep adding water till they are soft in consistency and shaped in a round ball. Keep adding oil.
– Take some banana leaves, toss each leaf back and forth on the heated pan.
– Spread the boli content on the leaf and let it heat for some time.
– Add the filling in between. Roll and flatten the content till the filling is spread evenly. Keep tossing until they turn golden in color.
NOTE: Have it hot with ghee or butter spread on top. You can also dip this in hot milk.
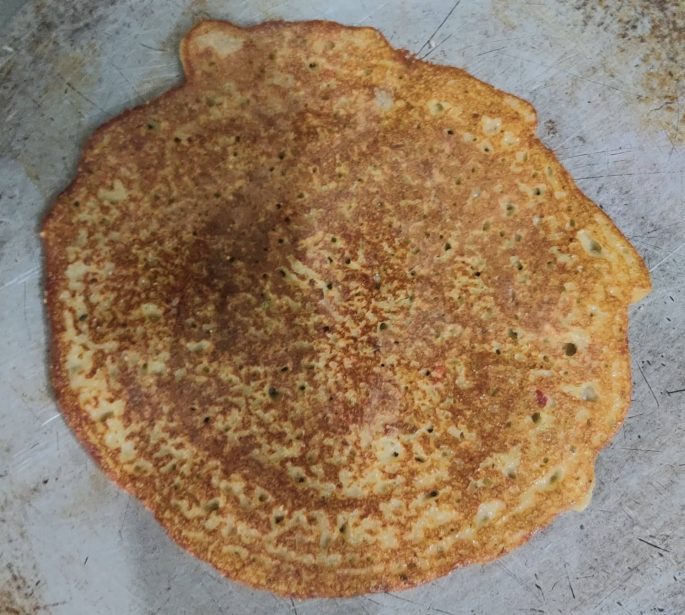
Adai is a filling delicacy, prepared using a mix of lentils (dal) and rice and is quite different from how dosa is ready. Adai recipe is different yet easy and takes lesser time as compared to dosa. The dish was named Adai because, in olden days, prepared in a bronze vessel with coconut oil. Adai is not exactly dosa, but it is similar to what dosa is. Adai recipe made using lentils, including toor dal, urad dal, and a small amount of chana dal and rice. Unlike a dosa, Adai does not go through the fermentation process and is much thicker than regular dosa.” The use of multiple dals and rice make it a filling dish that can be gorged on during lunchtime or as a snack. Adai is best eaten with coconut chutney or Avial or Aviyal, which is a vegetable and coconut stew. Jaggery mixed with ghee also makes a fantastic accompaniment with Adai.
Preparation Time:- 1 hour
Ingredients Required:-
1. Parboiled rice/ Pulungal Arisi- 1 cup
2. Channa Dal- 3/4 Cup
3. Split Yellow gram dal- 1/3 Cup
4. Tur Dal/ Pigeon Pea- 3/4 Cup
5. Black gram lentils/ Urad Dal- 1/3 cup
6. Some salt to taste
7. Oil
8. More love
– Soak all the ingredients in water for an hour. Add salt.
– Filter the soaked parts and grind them with red chillies.
– Heat the pan. Add some oil (any oil as per your wish). With the help of a spoon, pour some ingredient of acai and spread around/ circle shape.
– Serve hot with Vegetable stew/ Coconut chutney/ Tomato chutney