We had a half-cut cabbage stored in an airtight container for a very long time. We wanted to use the cabbage as early as possible. So, my mom and I ended up making some hot vadai’s with Chai/tea and kesari (I know, bad combination, but, why not?). This particular post I decided not to write much, but let the pictures speak for better understanding. You can read the captions below every picture.
Cooking time:- 25 minutes
Soaking/ pre-preparation time:- 4 hours.
Ingredients:-
- 3/4 channa dal
- 1/4 cup urad dal
- 1/4 cup tur dal
- Water- 2 cups for soaking
- Red chillies – 4
- Half cut cabbage – For serving at least 4 people.
- Coriander powder-2 tbsp
- Salt to taste
- Jeera – Optional
- Cumin seeds – Optional
- Curry leaves – Handful
- Oil for frying

Soak for an hour all the Pulses/dal with the Red chillies 
leave aside some for the Vadai 
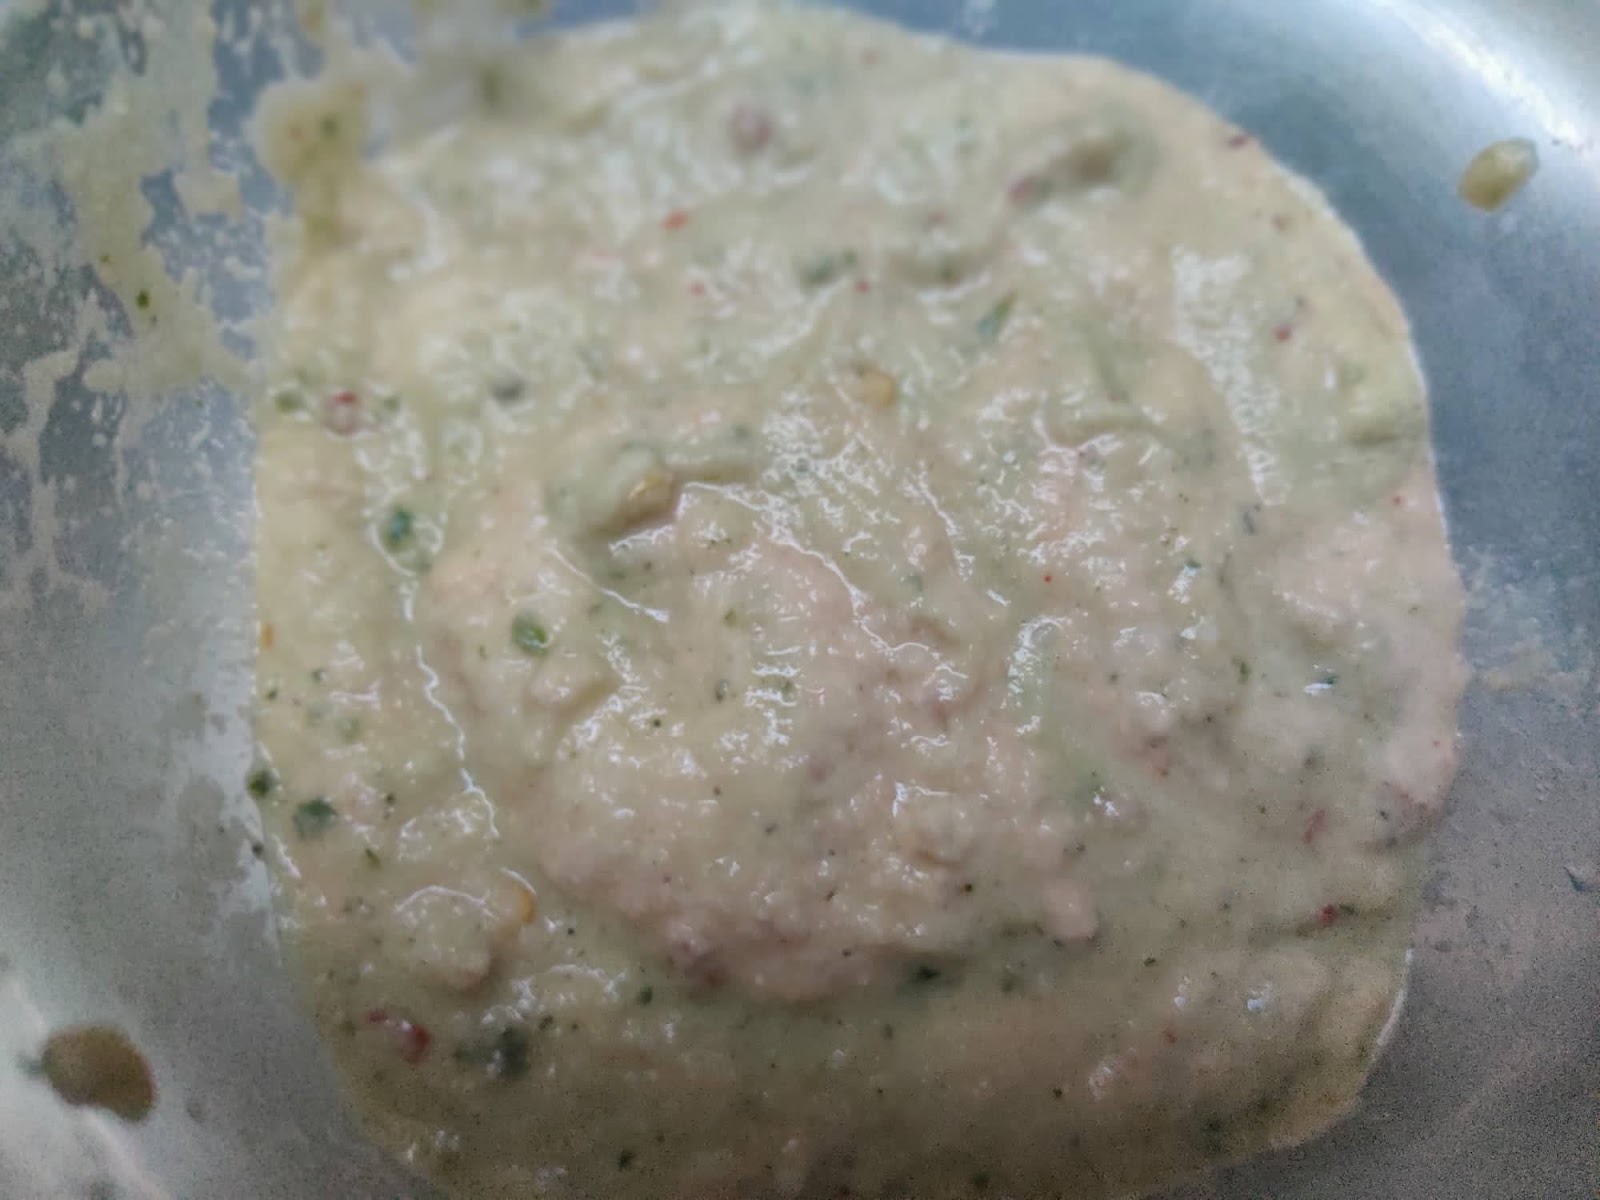
Grind the content in a processor/mixie 
The ground paste of the pulses/dal 
Mix the paste to the Pulses/Dal 
Add Coriander Powder, Asafoetida, Salt and Curry leaves 
Mix all the contents to get this grainy onsistency of the content 
Pre-heat the pan with oil for ten minutes. 
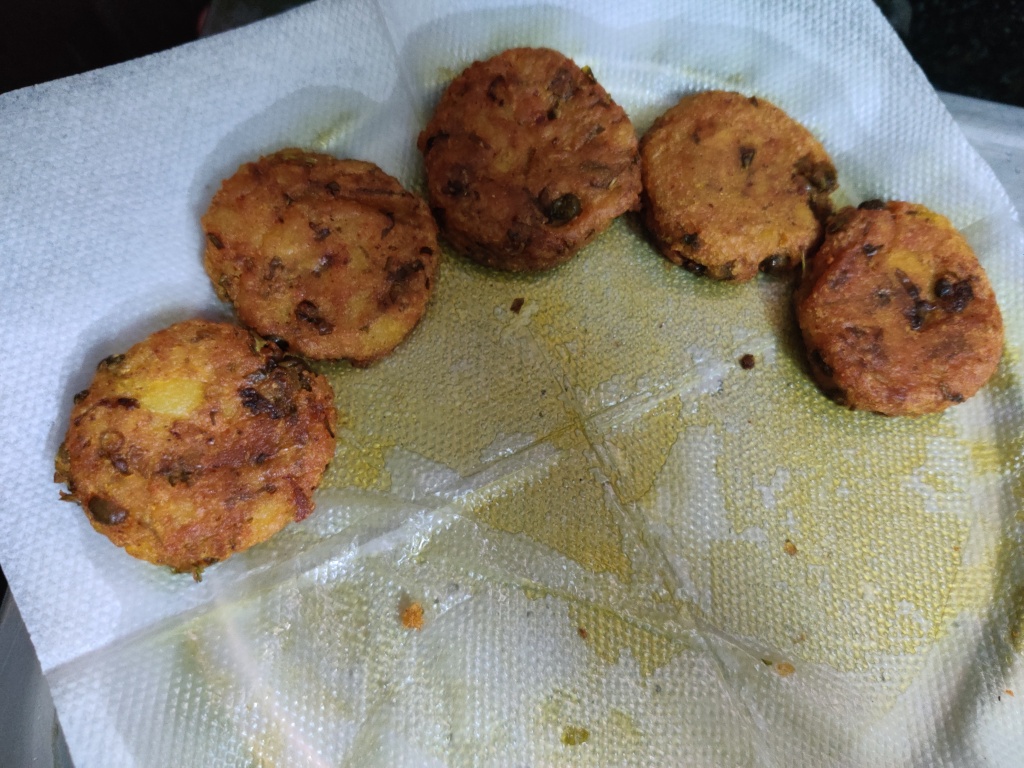
Flatten the content and put in the oil for frying. Let it fry well, till it turns golden brown. 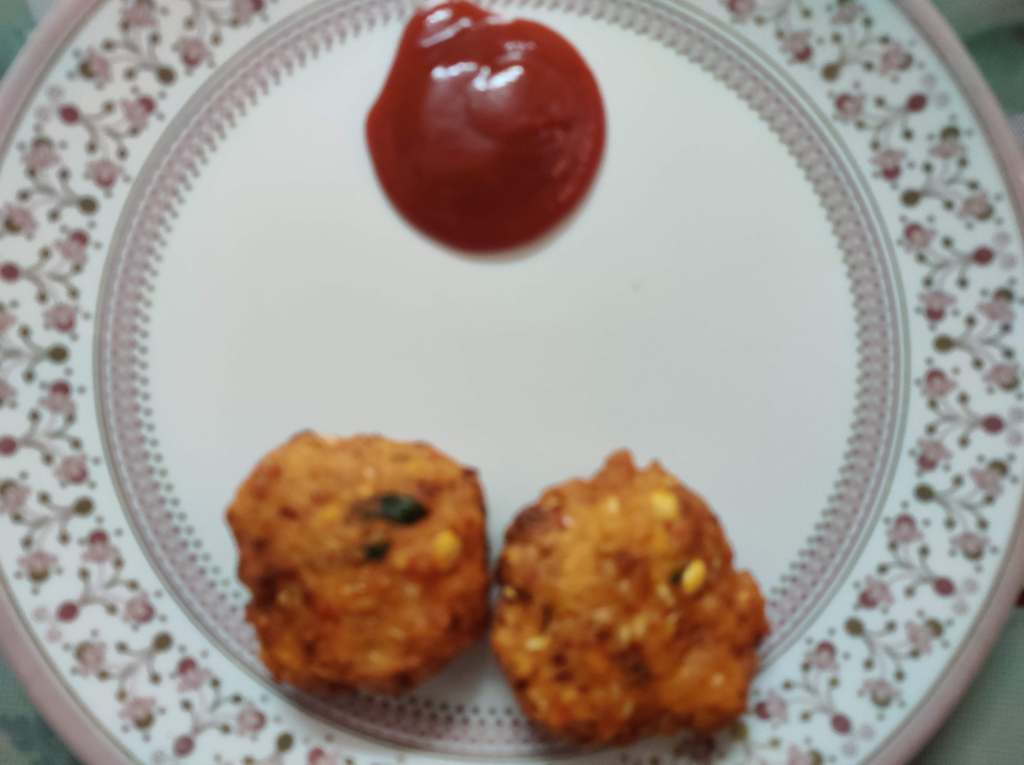
Serve hot with sauce.